Make Now A USB Portable Web Server Test
Even if you are web developer, even if you are just a blogger, updating a website is a perpetuum-mobile job. Even if you want to test a template, even if you want to test some simple changes of your work as a blogger, the best way to do it is seeing that changes “live” on your local system , before letting them to run “officially” on your website.
You may find so many apps which permit you to create any HTML page you want, and then to preview it before you upload it one the web host, but if your website is based on PHP and MySQL (the most common example is WordPress blog), things begin to be difficult. You will have to use a web server that let you to do that. The most simple and quickly way to make a preview is using a Portable USB Web Server Test.
Our BootableUSB teamwork decided to make a research and choose the best solution for you to Test a Web Server, anytime and anywhere, using just a portable USB thumb drive, even if you don’t have an Internet Connection. The app that can do all of this it’s called Serve2Go.
In analogy with the work that you do for setting up a web server on a Linux machine, this tutorial about “How to install and use Server2Go using a USB flash drive?” is just marvelous. For us, this is an ideal solution, cause you can explore a lot of design modifications on your web site template making no damage on your whole site. Certainly, in order to realize it, we establish to make a test with Server2Go first.
After you dowload Server2Go (google it, the first link - official site) and extract the files, you’ll notice that all the folders are structured as an ordinary web server. Note that “htdocs” is the public folder where your web pages will go. No installation needed!
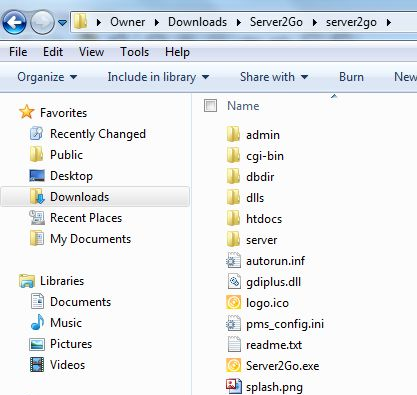
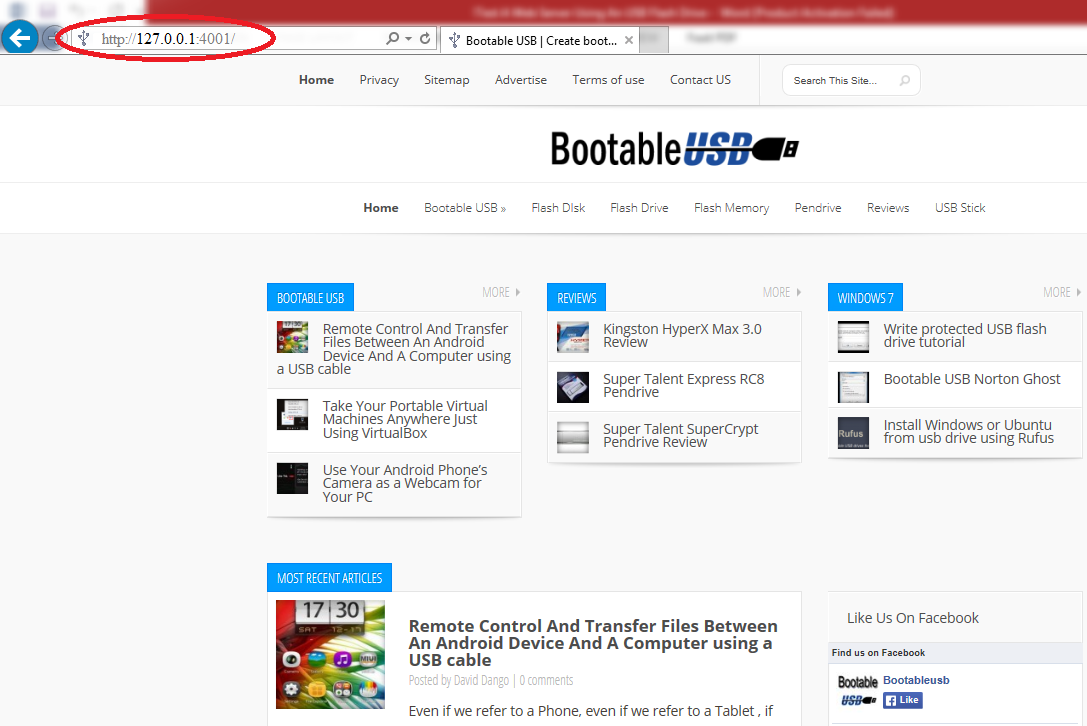
After you extract all the files, copy all of them on your USB portable flash drive. Now, if you want to test your PHP & HTML web site you have to copy the site on the folder that we mentiond up htdocs and you can run it by launching Server2Go.exe and opening in your browser this localhost page http://127.0.0.1:4001/ . That was all. So simple, isn’t it? ![]()
That’s a very clever movement because you can test every web site you want, anytime, anywhere. Should be something more? Oh, yes! What if we want to test the whole web site with the SQL database?
As you may read on their official website, Serve2Go was made to be used with a CD-ROM, so it will not be possible to save database modifications. So, for making this possible we have to set up the server by modifying pms_config.ini like this:
- LocalMirror=0;
- OverwriteLocalMirror=0;
- DeleteDatabaseFiles=0.
!Be careful. If you don’t make those edits, you will loose all of your database changes. So, make sure you did it will before you go to the next step.
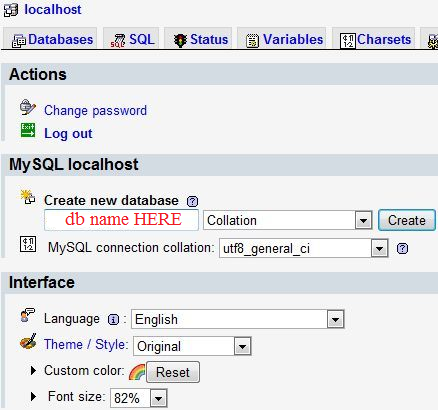
Now, we have to open phpMyAdmin. In your browser just copy-paste this: http://127.0.0.1:4001/phpmyadmin/. The username is root and the password doesn’t exist. Leave it as it is - blank, as you may see on the picture below:

Now is the time to create the database. Write down the name of it and press “Create” (n.b. it’s the same name that you gave to your website db!). If you have a WordPress blog, the name of your db is written on your wp-confing.php file, so you will see the name of it there.
Now you have to create a “new” user, but will not create a new one. You will use the same username as you use on your WordPress blog. To add it you have to open SQL tab (from phpMyAdmin) and write down the following (where my_id’@’localhost is your user, and your_password is obviously, your password for that user) :
“CREATE USER ‘my_id’@’localhost’ IDENTIFIED BY ‘your_password';
GRANT ALL PRIVILEGES ON *.* TO ‘my_id’@’localhost’
WITH GRANT OPTION;
CREATE USER ‘my_id’@’%’ IDENTIFIED BY ‘your_password';
GRANT ALL PRIVILEGES ON *.* TO ‘my_id’@’%’
WITH GRANT OPTION;
Now that we have set all the details for making the database to work properly, all that we need to do is to copy the whole WordPress blog to the “htdocs” directory, from our USB flash drive. A visual example you may find in the next image that we uploaded below for you:
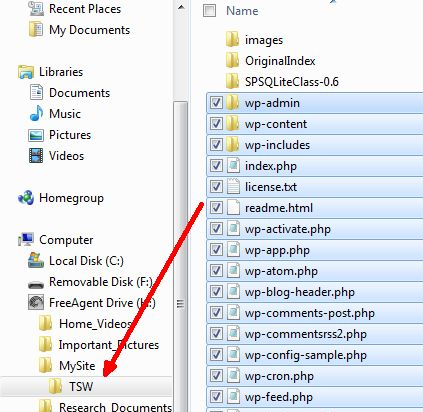
Keep that in mind you have to edit wp-config-sample.php with the name of your database and your user. After that, rename it to wp-config.php. Also, copy now wp-content folder from your online web site into your local installation. Next step is to launch from your favorite web browser this page: http://127.0.0.1:4001/wp-admin/install.php
Will appear this:
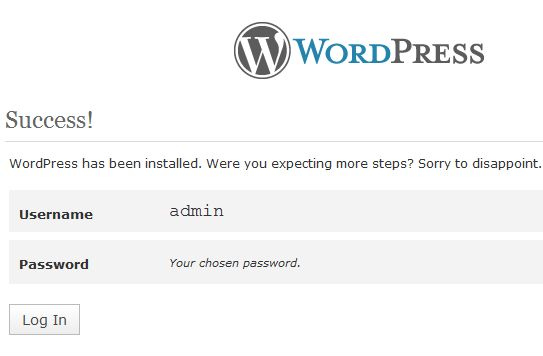
That’s great! Your whole WordPress site is running on your USB flash drive. Now all we have to do is to get the main database and to include it into your portable web server test.
In the next image you can see a local copy of BootableUSB.net that runs on Server2Go.
Congrats! Now every modification We want to do, first we will test it on our local installation and then we runt it online, just applying the changes. It’s very simple and very useful. Give now a try of Server2Go using your USB flash drive and after that tell us how it works.
First you have to sketch your ideas then to apply them, but never vice versa! ![]()
if we connect pendrive it shows but if we open it shows the acess is denied