How To Make a Linux Computer From a USB Charger
Prepare yourself to learn how to realize a Linux computer within a modified USB Flash Drive charger plug, giving you a steady power using a small package.
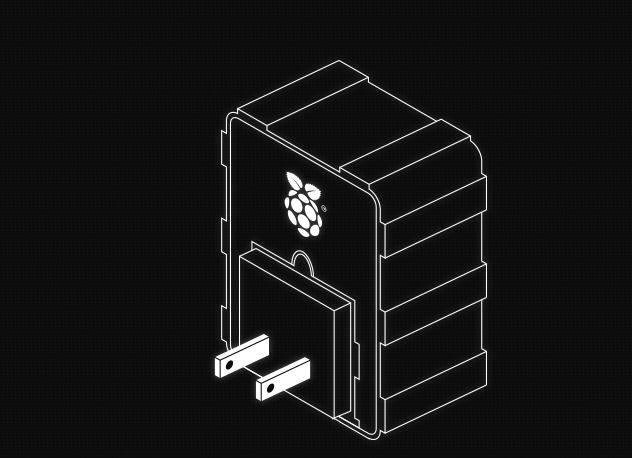
This consists in using a development board named ODROID-W compatible with Raspberry Pi. Beyond that it use an operating system named Raspbian. For the joy of the users, this plug it was made to be used by everyone on this Erath. It came along with EU, UK, Eu attachments.
Everything is very easy to try this. Just plug the USB Flash Drive in and this is all you have to do. Let it around a WiFi range and you will be happy to see it working with a steady power. Another good news is that it is so little that it will be unobservable.
You will not find too many apps similar to this covering up personal documents/media server, with a relay based on TOR , an alarm with motion sensor (using the RPi Camera), a tool that you can do pentesting, a node based on Bitcoin, even a Virtual Private Network or a remote Linux OS. On the picture below you will see a pattern of a WiFi adapter for connectivity, but as an alternative choice for physical connection you may try to use the innards of an USB Ethernet adapter.
PICTURES (Some pictures to see the details of this product)
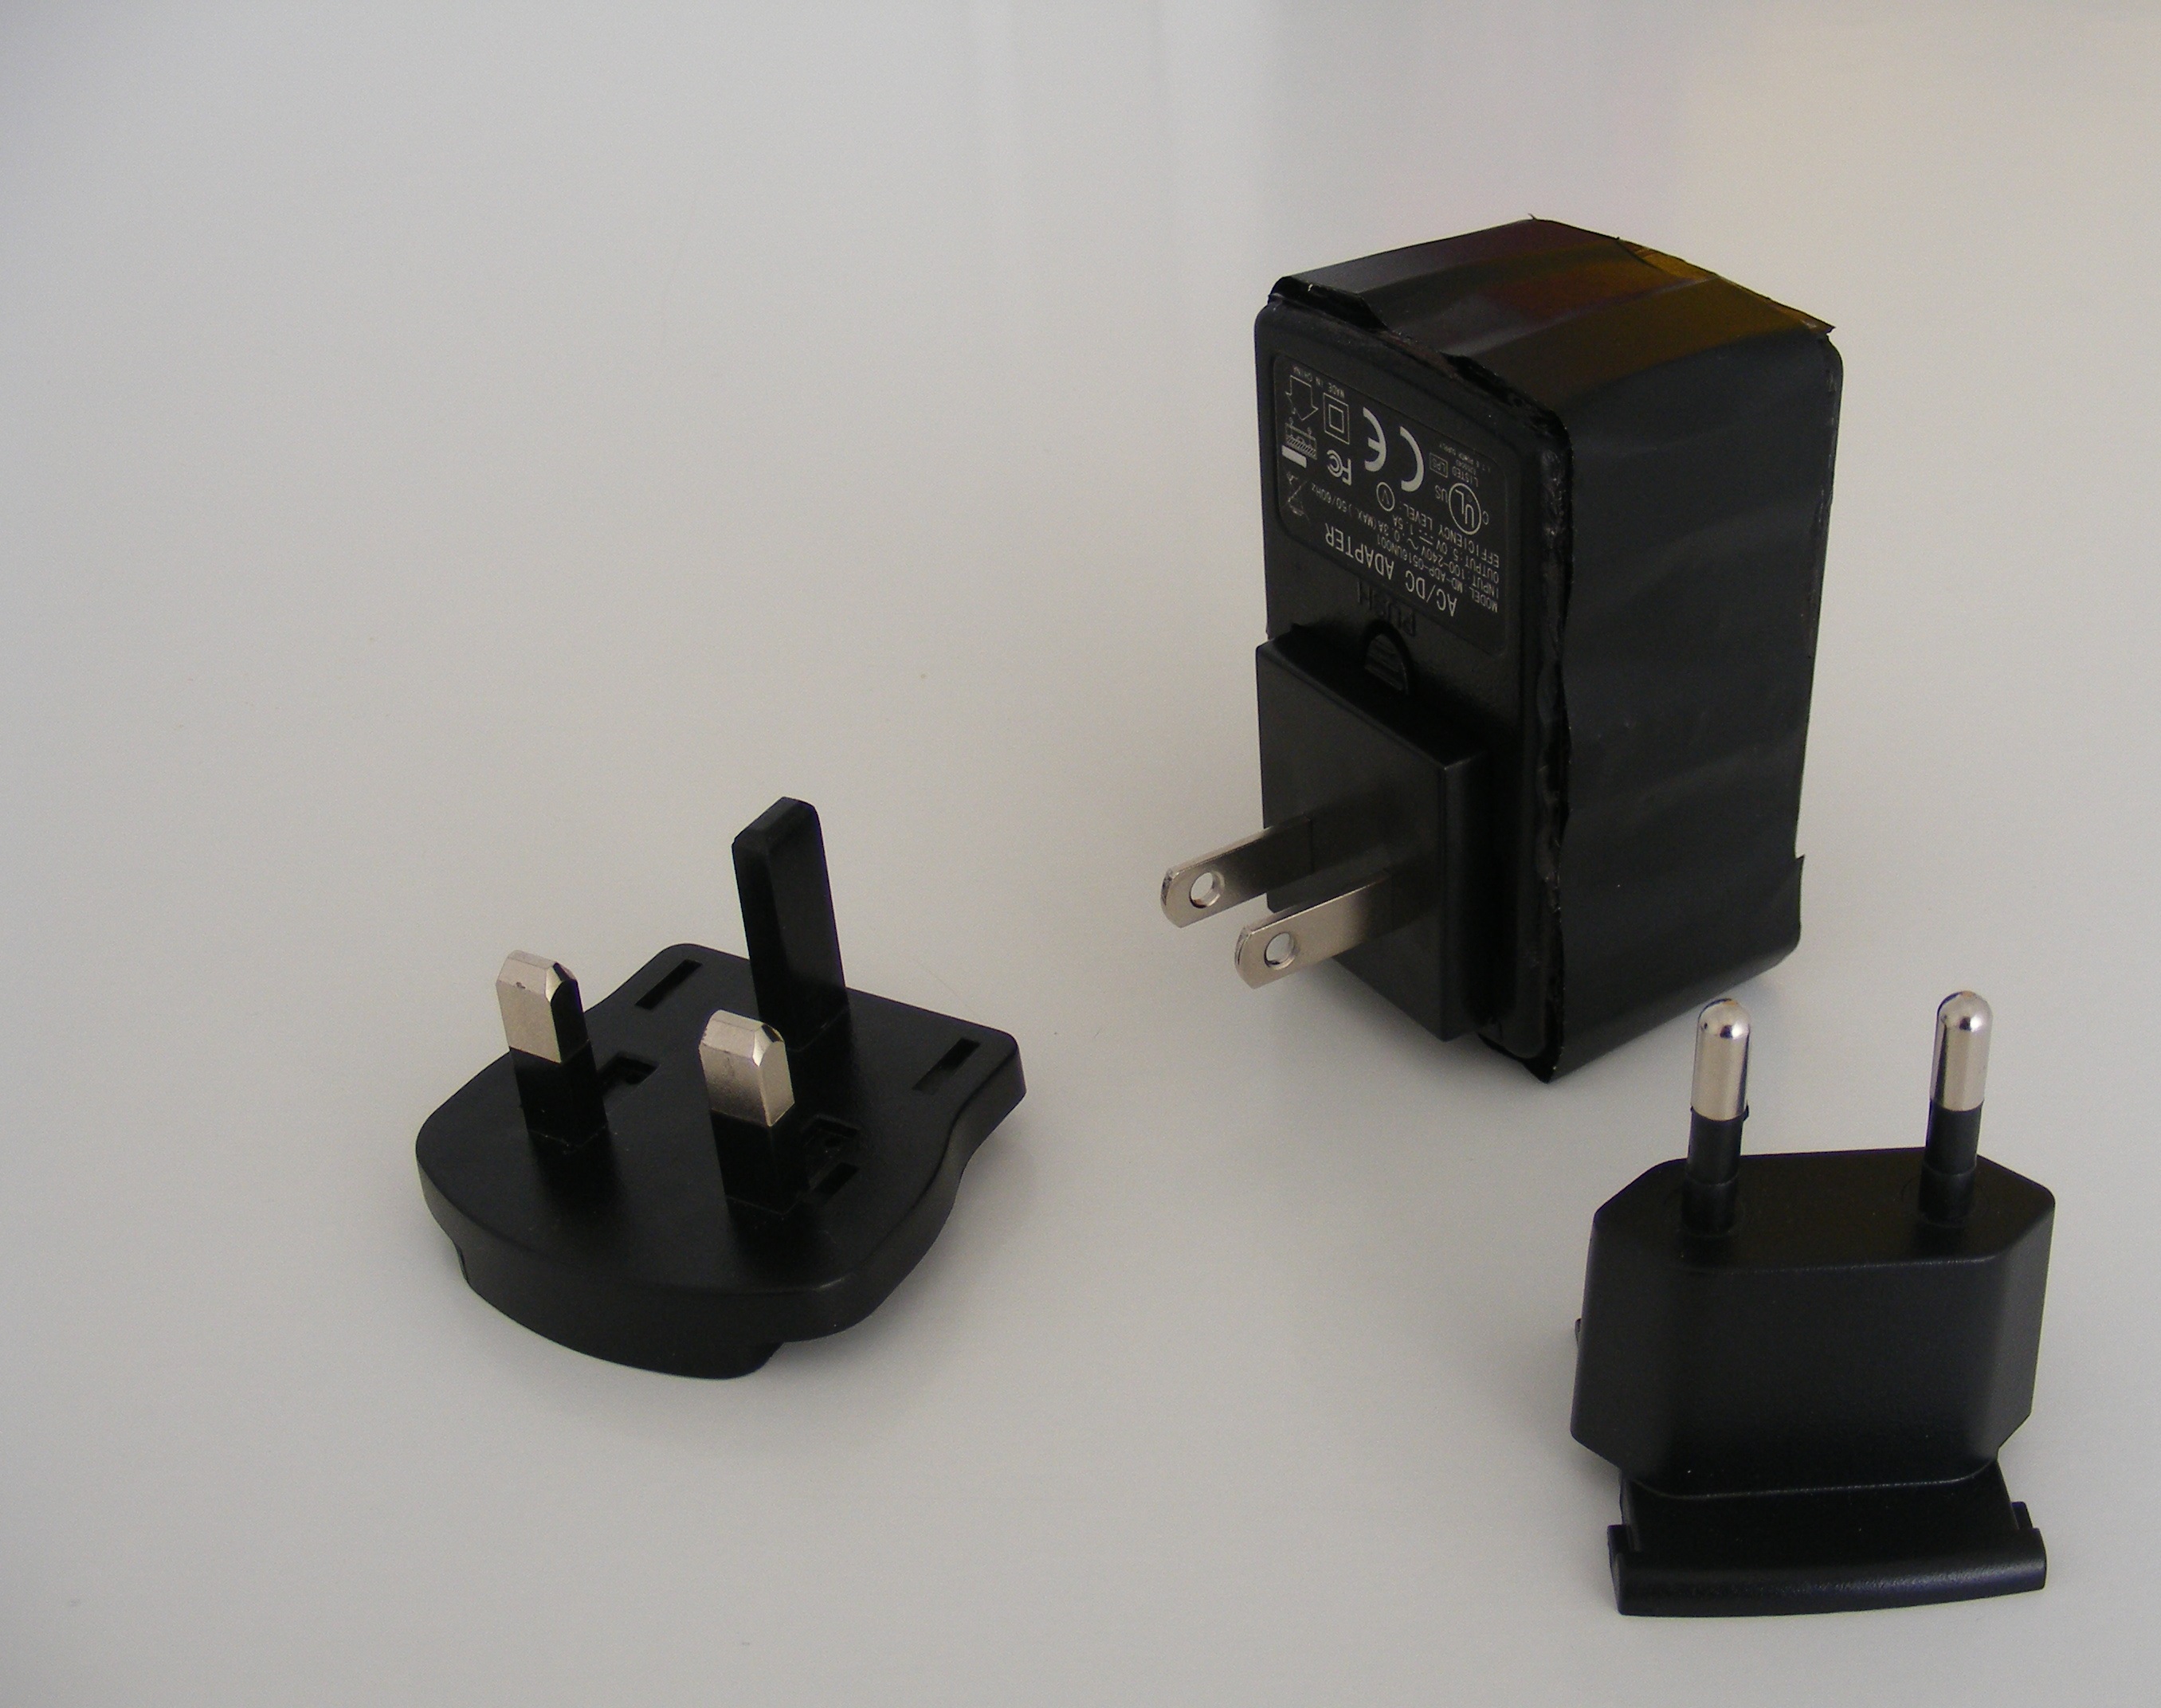
- All tipes of attachments: United States, United Kingdom and Europe
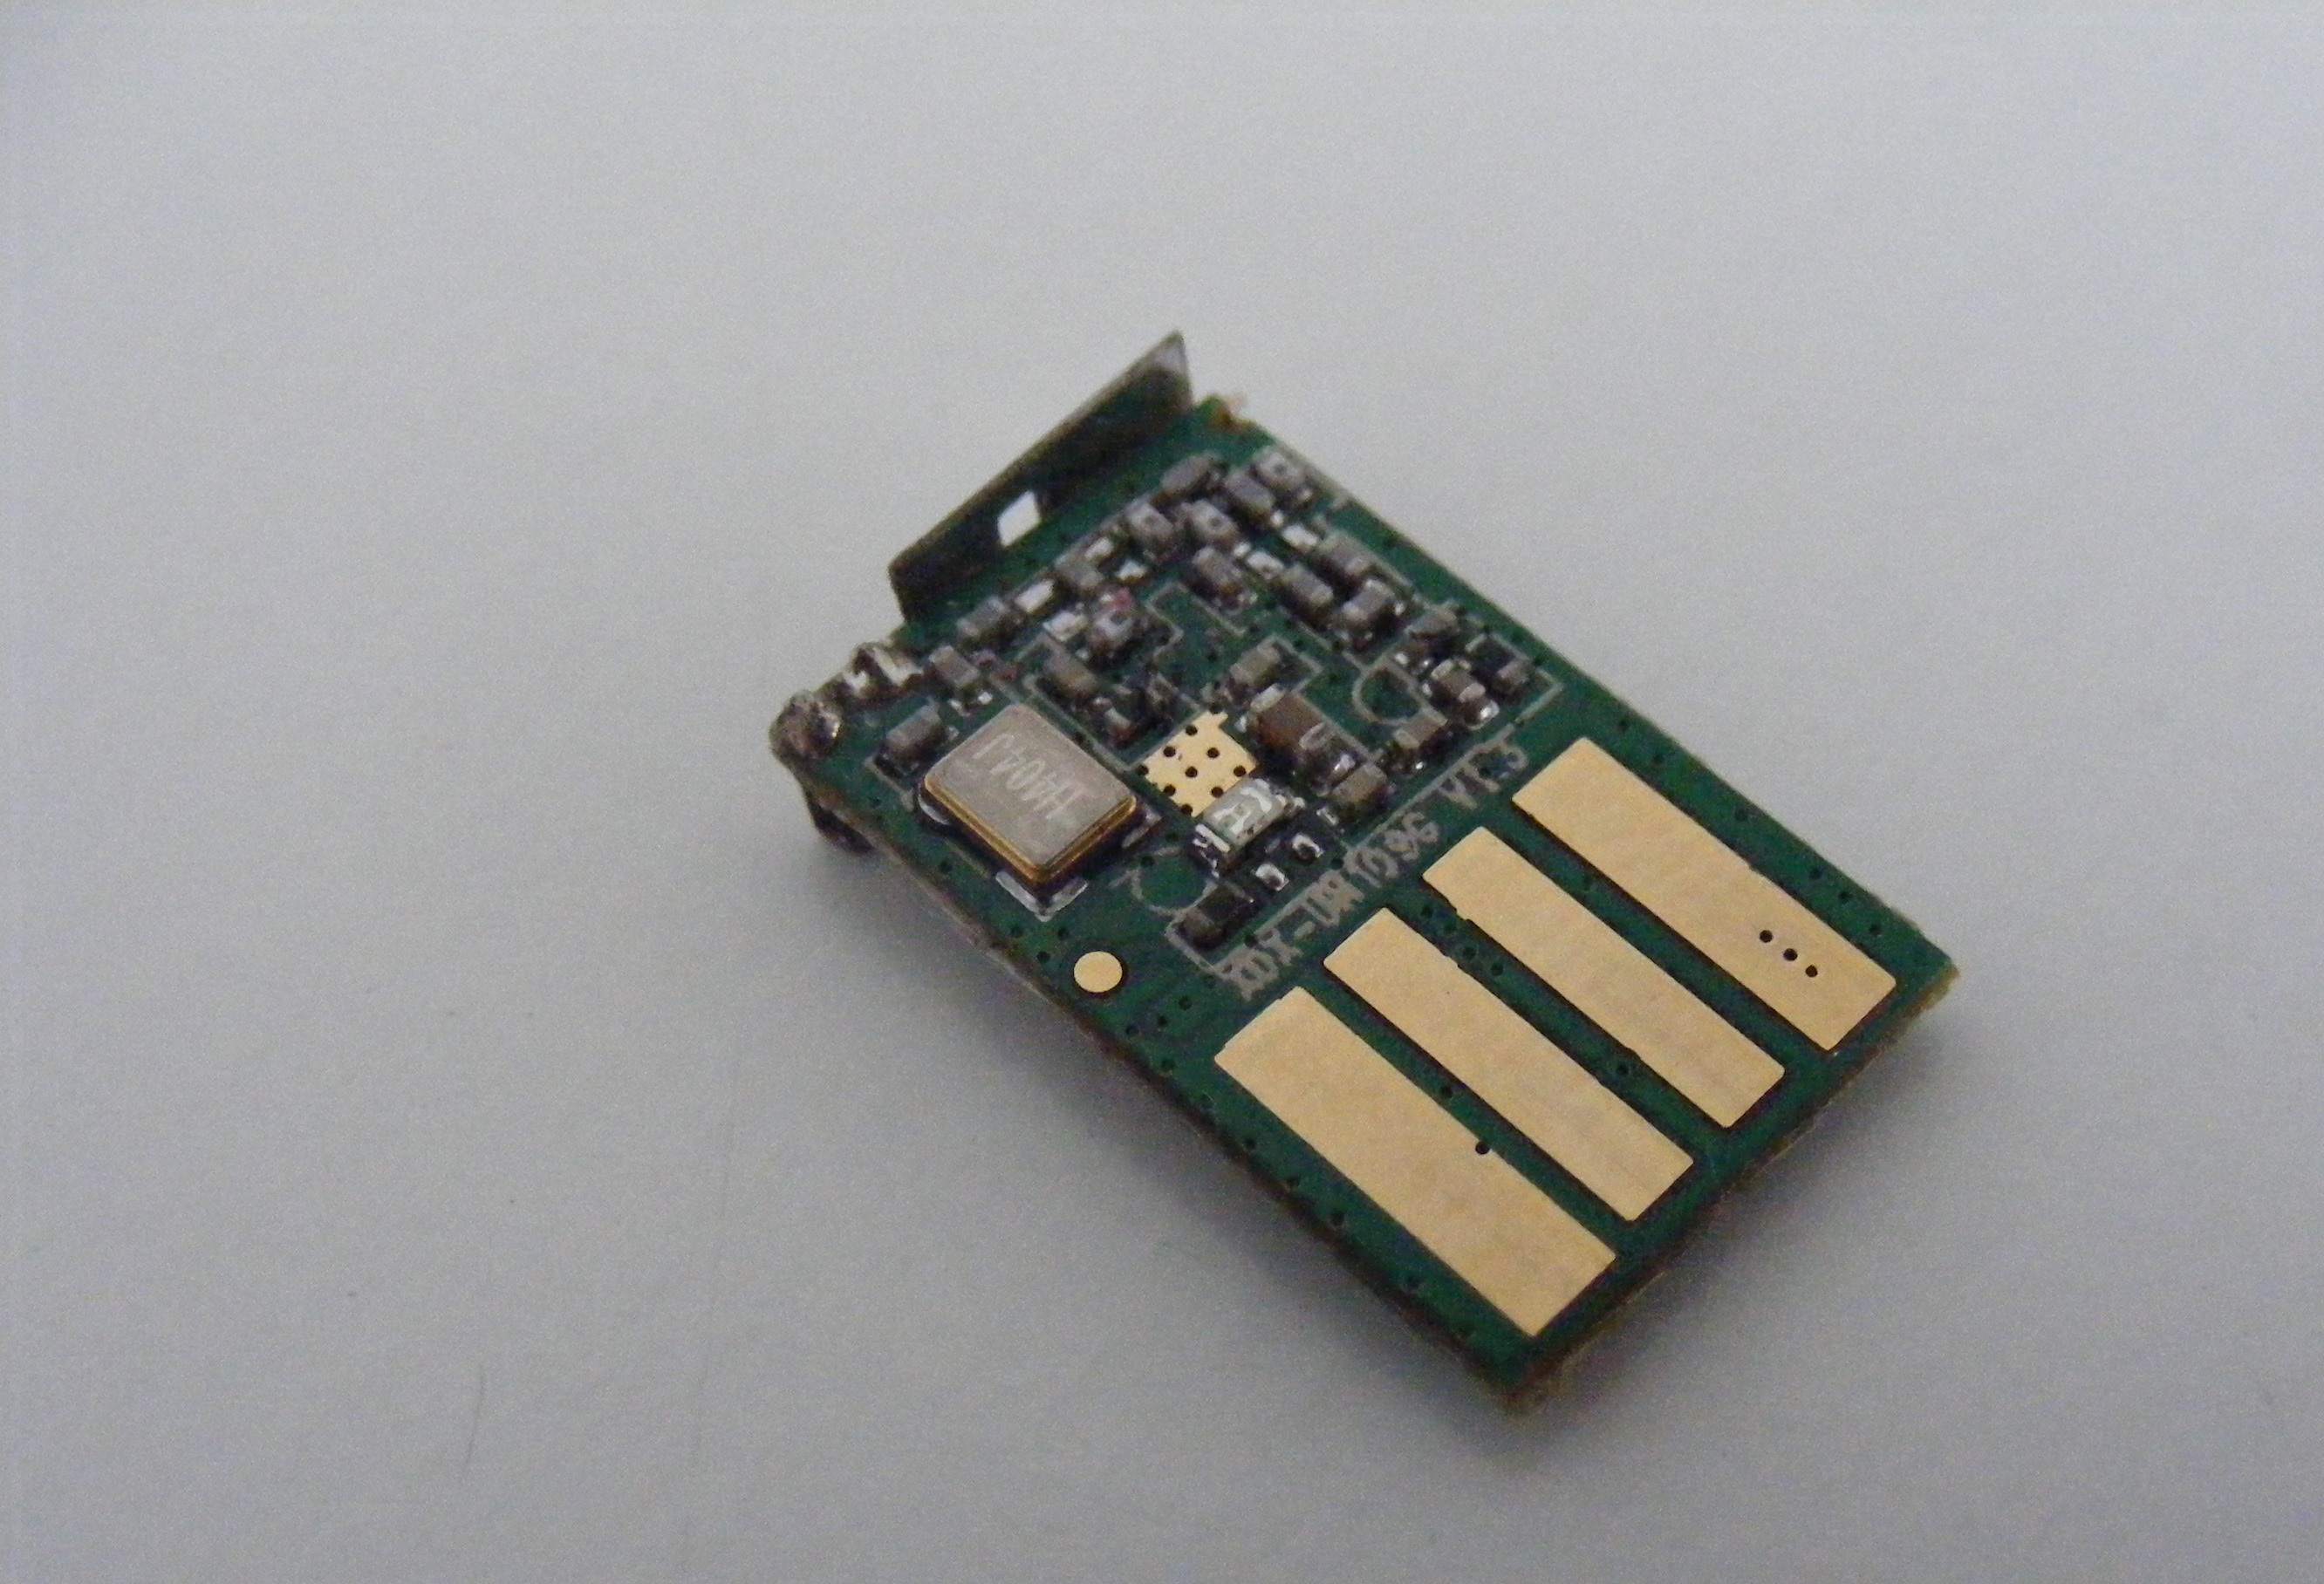
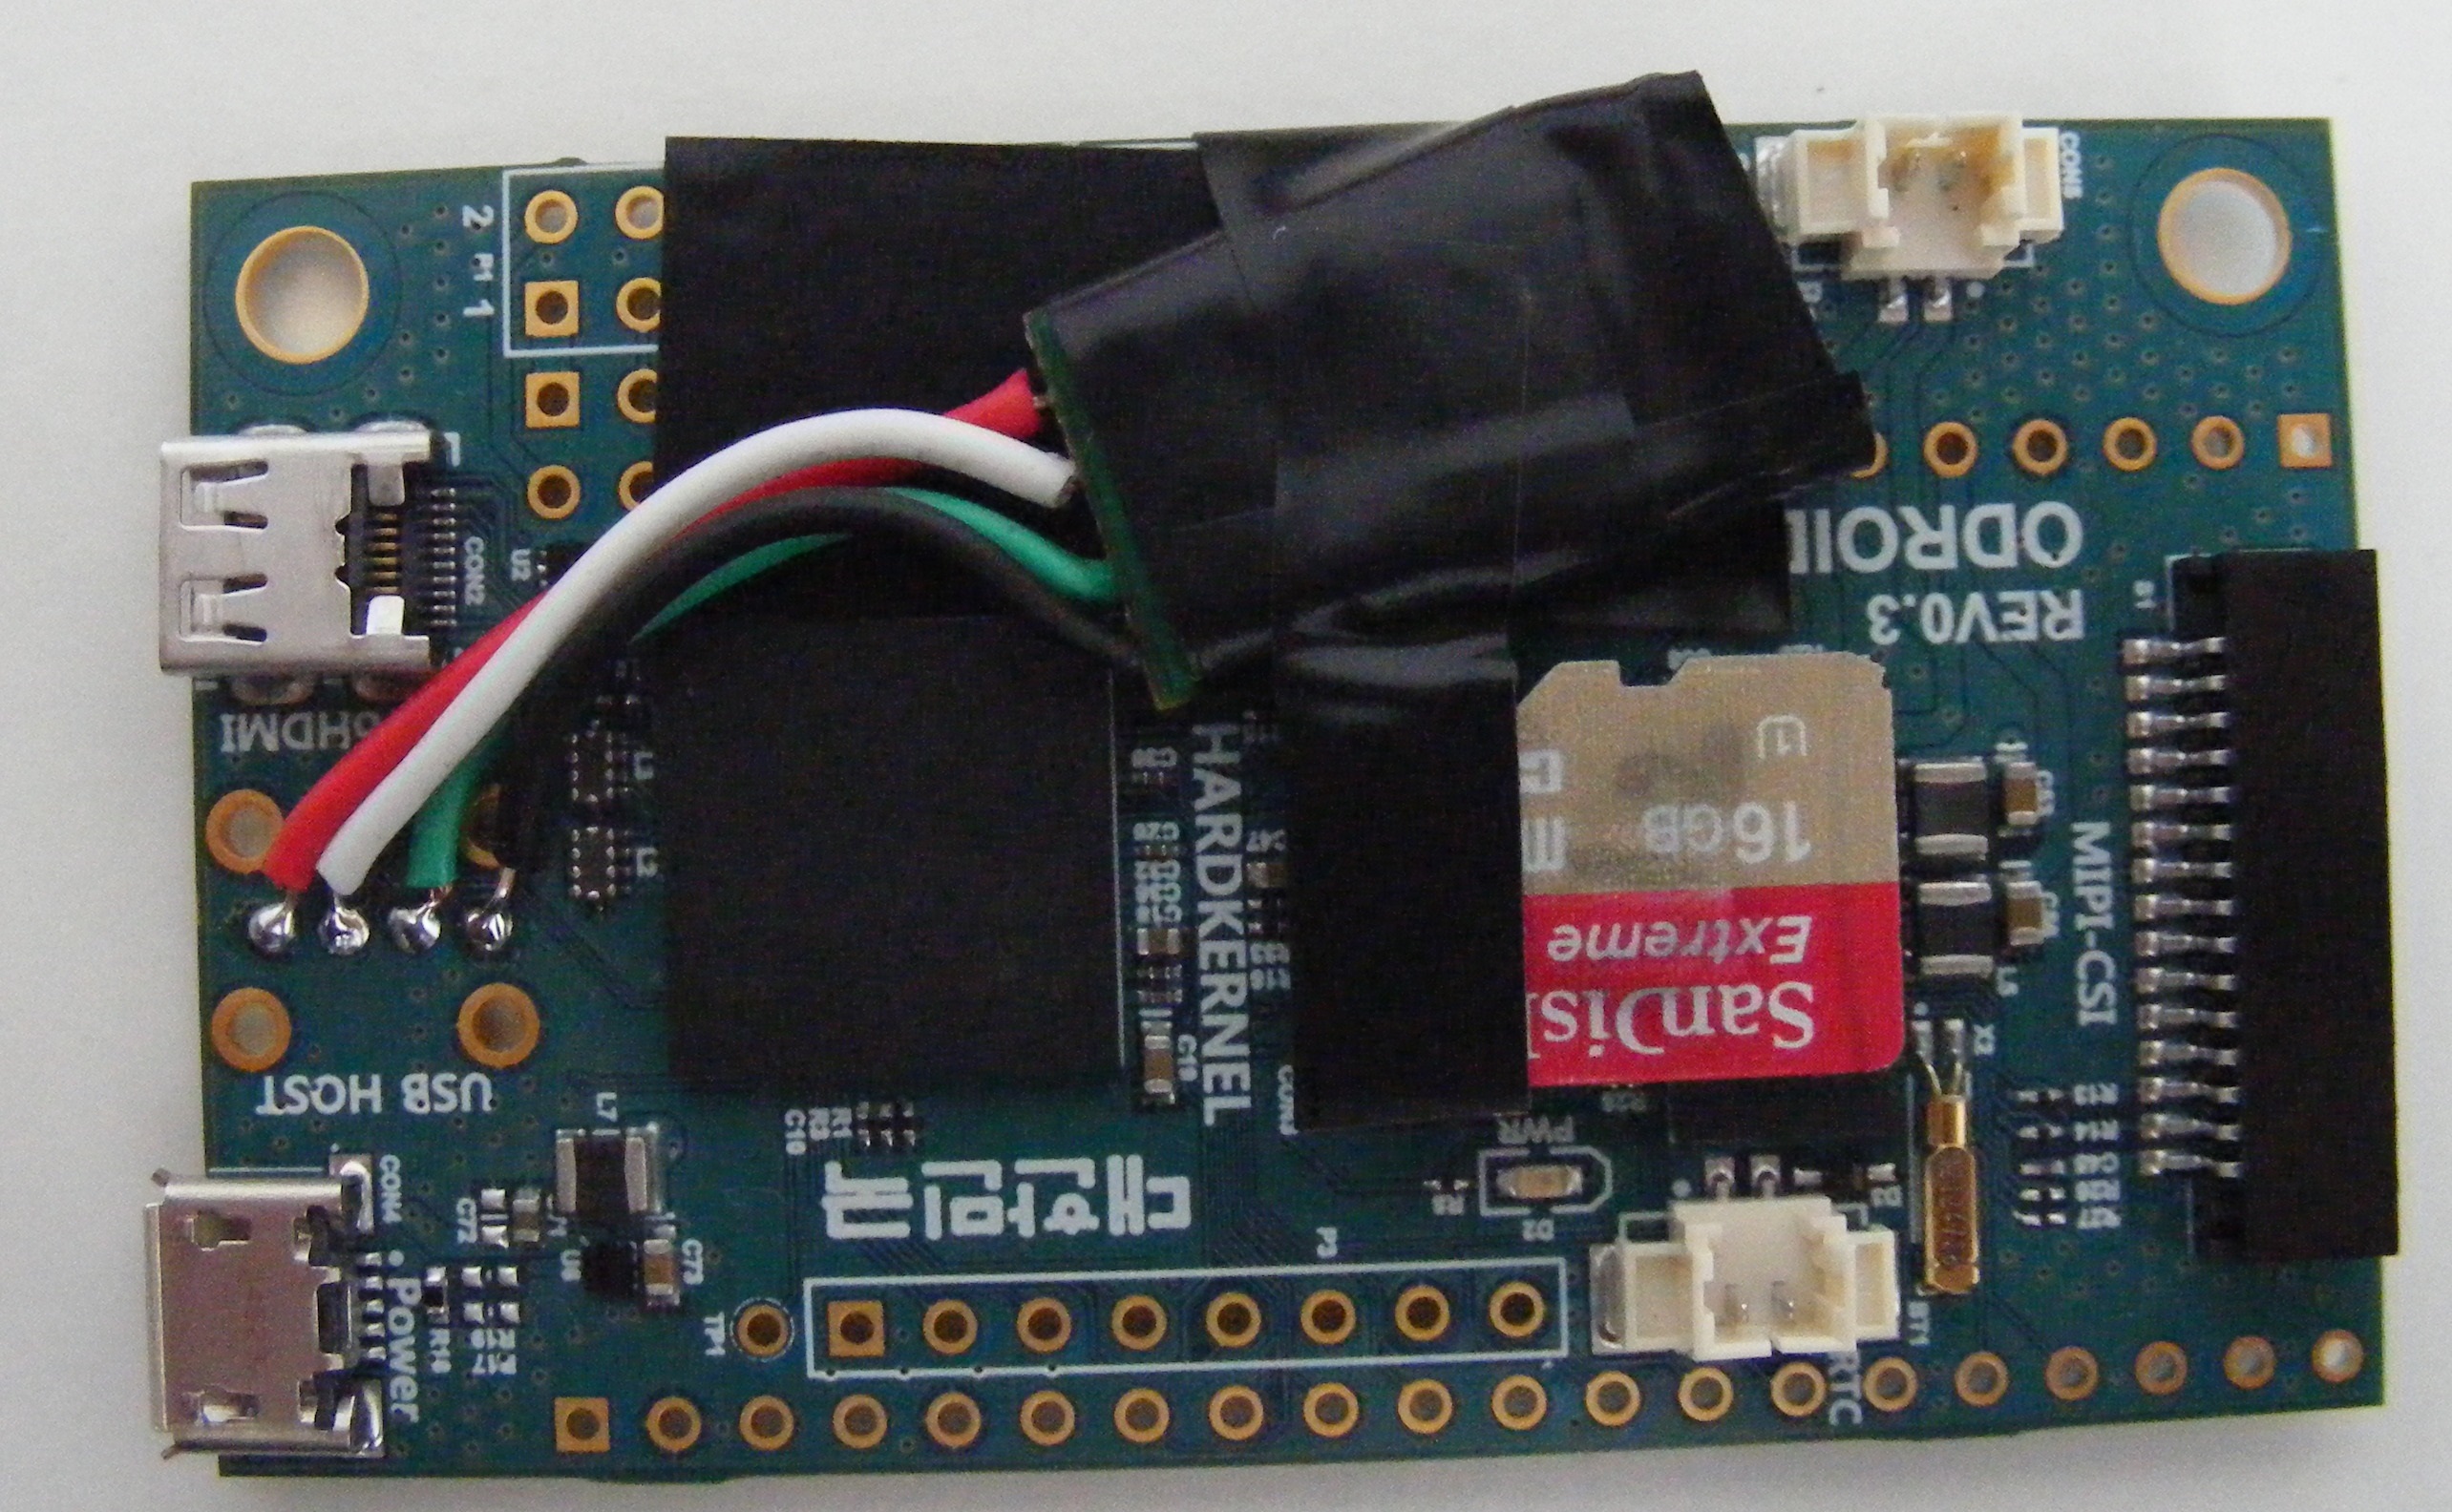
- ODROID-W and the interior of the USB

- The comparison between the product and a Macbook Air (11 inch)

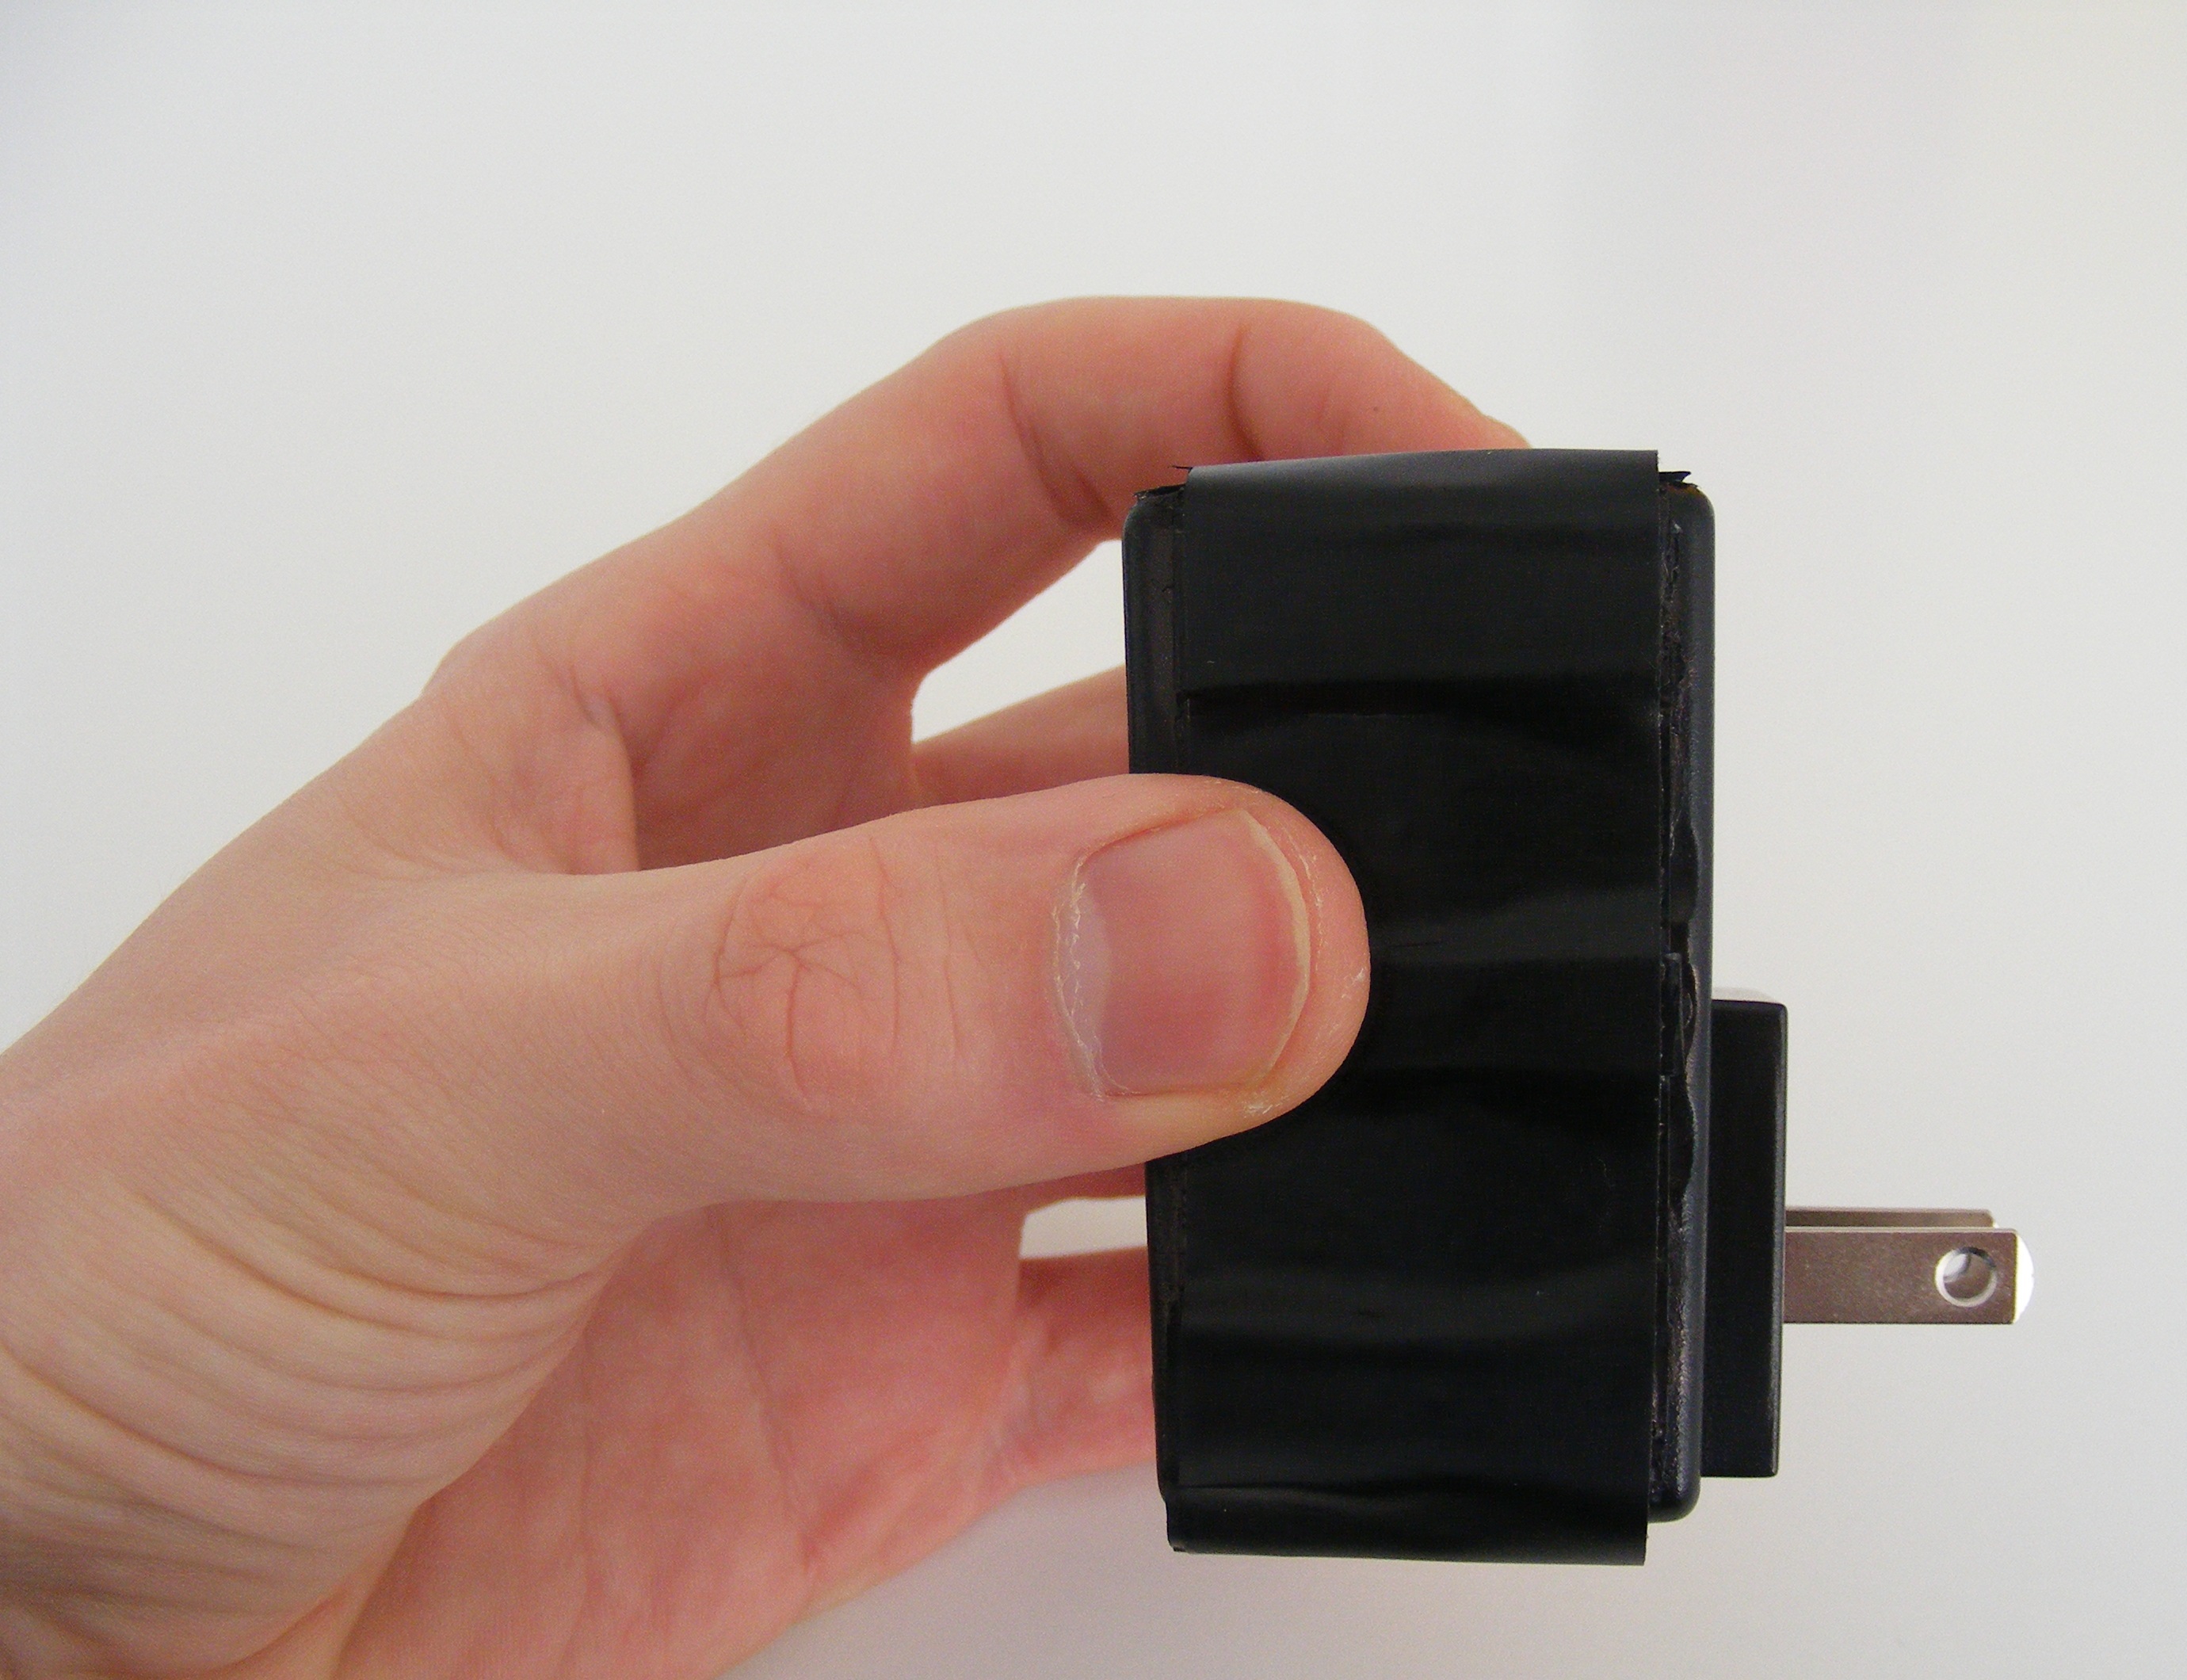
- The product in hand
Parts of the machine (~ €45)
- ODROID-W (0.7Ghz, 512MB RAM)
- A plug of an USB charger (MD-ADP-0516UN001)
- WiFi adapter for USB (based on Raspberry Pi tech )
- Insulating band
- Plastic fragments for isolating
- Welder
- Slim wires
- A card to install the Operating System and also big enough to save all your information you want to - we recommend a Micro-SD one
Equipments
- Iron for soldering
- Clippers for wire
- Hacksaw with short
- Super-glue
Tutorial for the SOFTWARE part
Step 1. Get the Raspian Operating System installation file, accessing the ODROID website (http://dn.odroid.com/ODROID_W/OS_IMG/ and write the .img file to your Micro-SD card).
Step 2. Set up the WiFi on your ODROID by accessing the next easy step by step guide (https://learn.adafruit.com/adafruits-raspberry-pi-lesson-3-network-setup/setting-up-wifi-with-occidentalis). If you don’t have an USB port on your product, all you need to solder a USB port and then to plug in the WiFi adapter.
Tutorial for the SOFTWARE part
(Be careful! When you deal with a disassembling of an USB this might be very dangerous for your life. It’s very important to follow the tutorial step-by-step and remain very cautious all the time!)
Step 1. In the first place we have to make a jumper wire connecting two elements, as you may see in the picture below.

Doing this we will solve some issues about power stability of the SBC. For more information you may access the ODROID website (http://forum.odroid.com/viewtopic.php?f=104&t=6547).
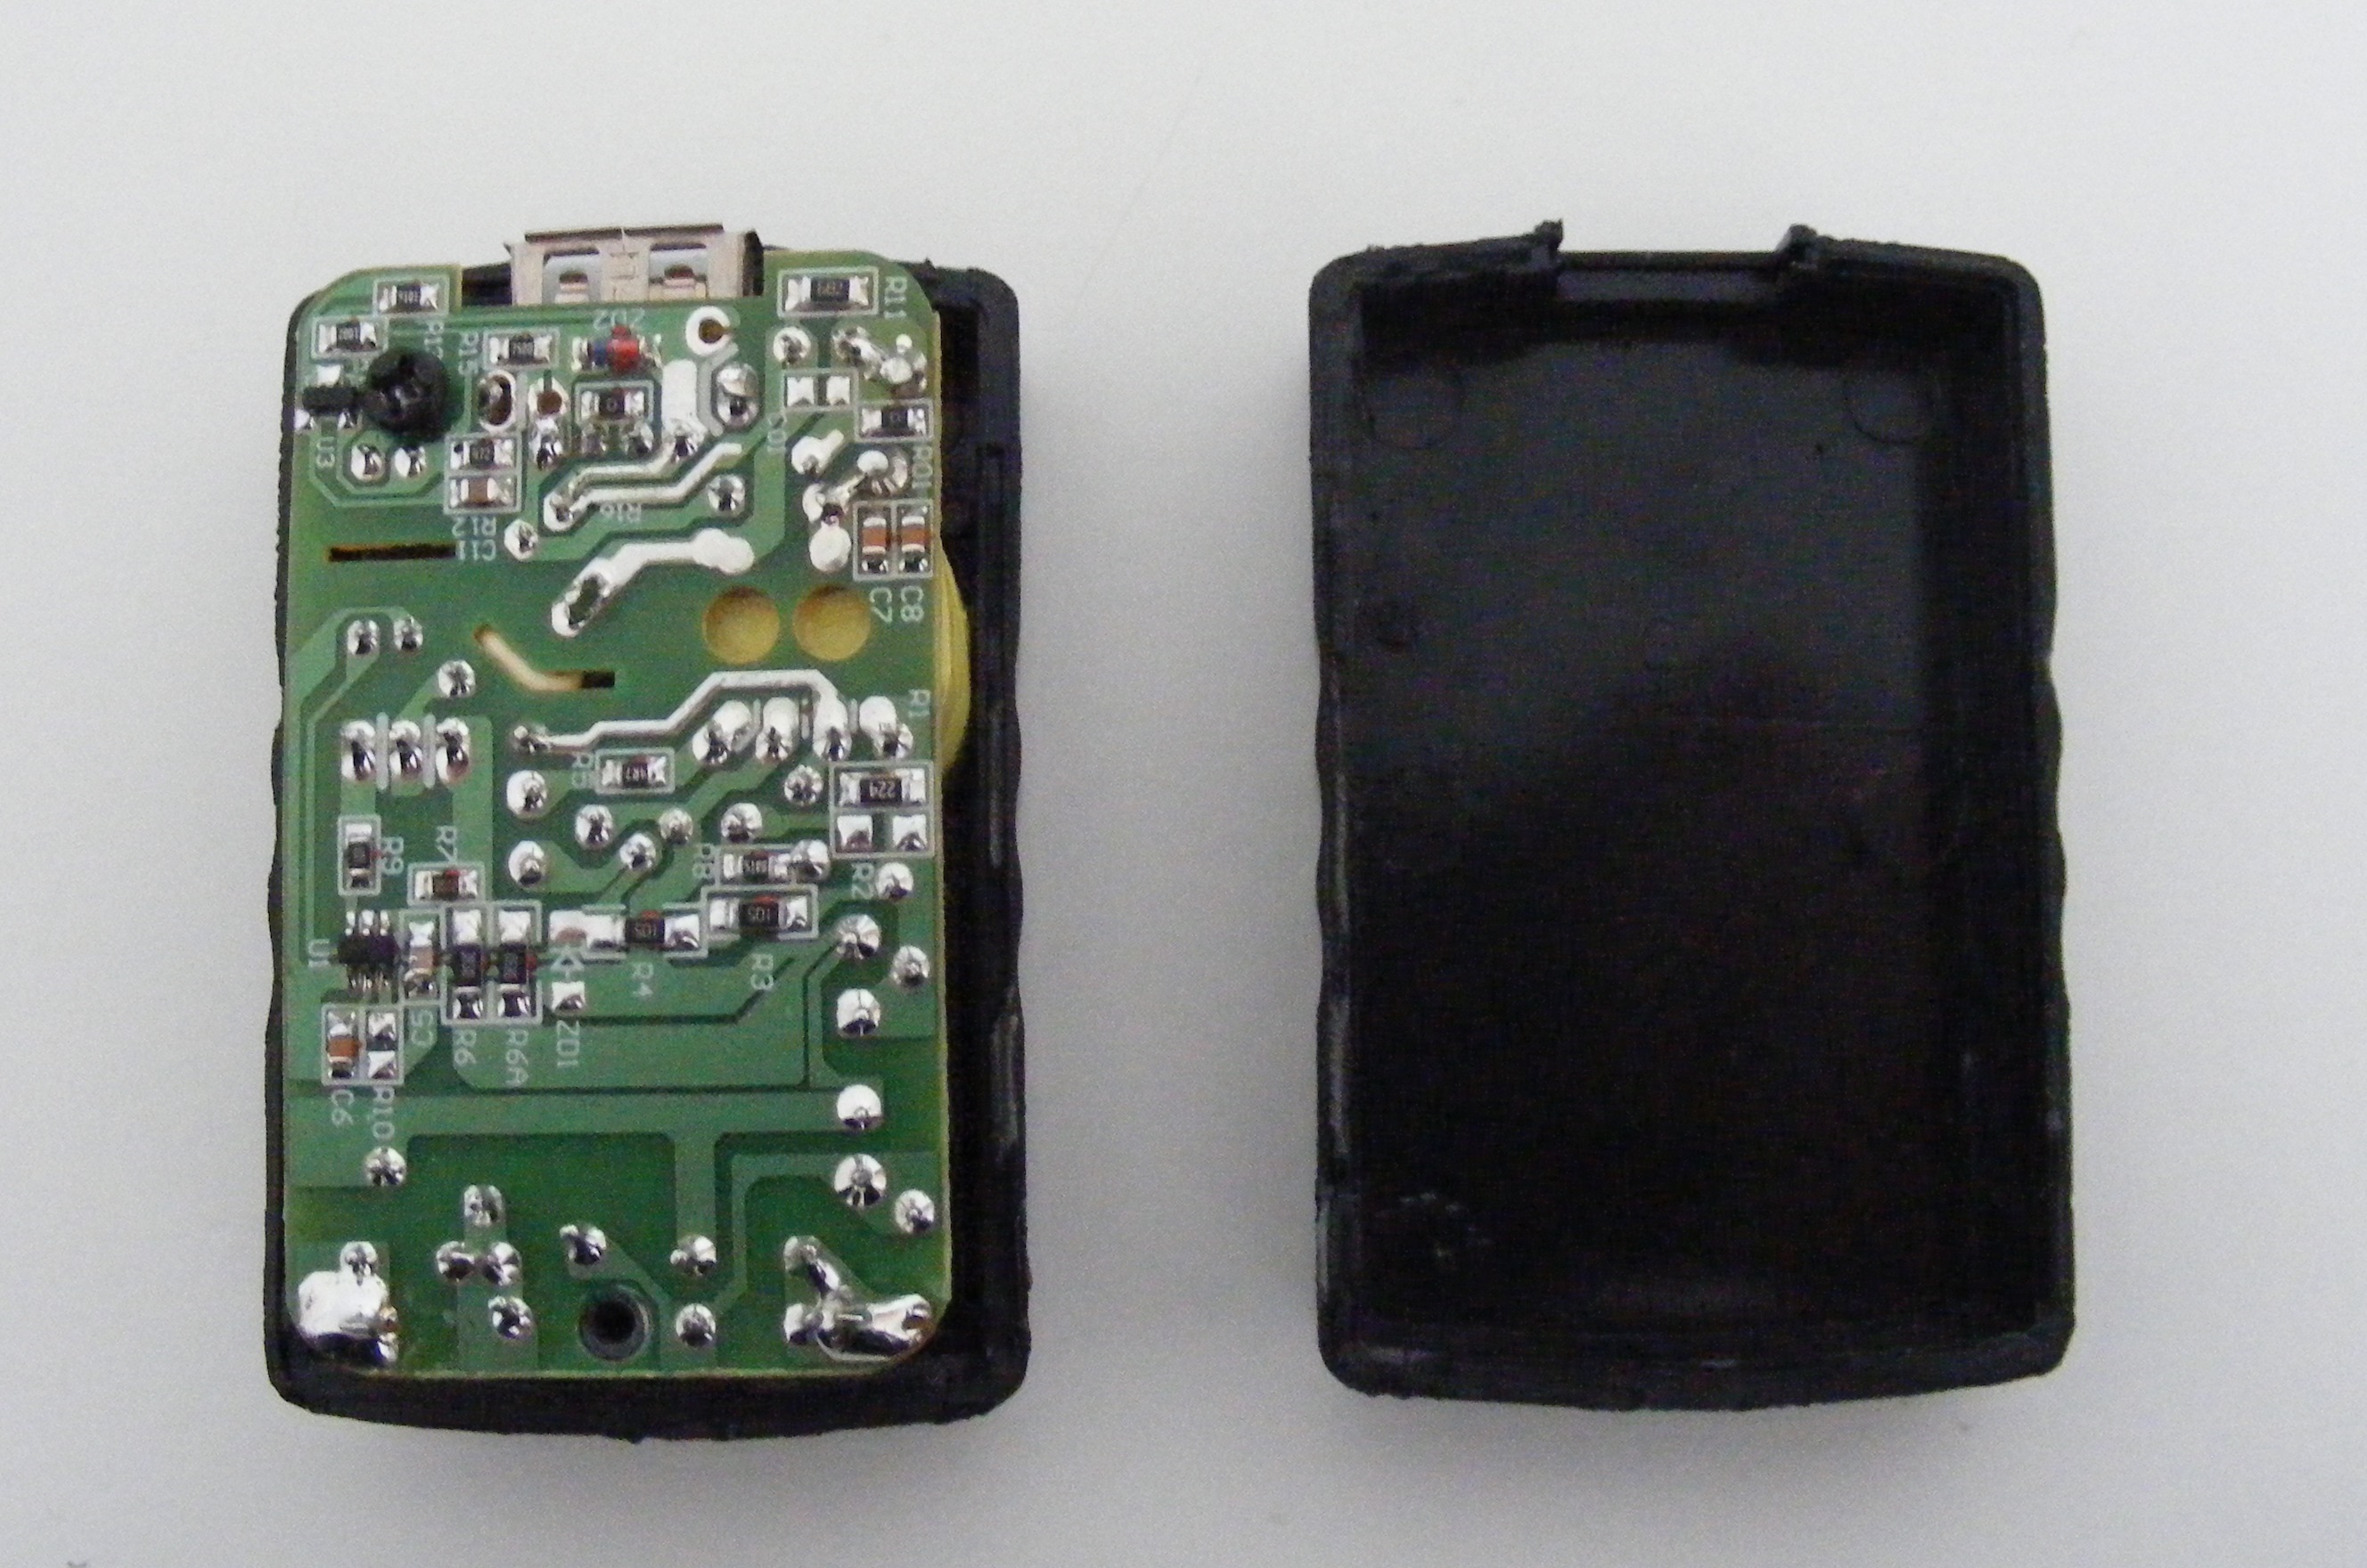
Step 2. Now it’s time to uncover the metal and plastic parts from your WiFi adapter. The result will look like in the picture below.
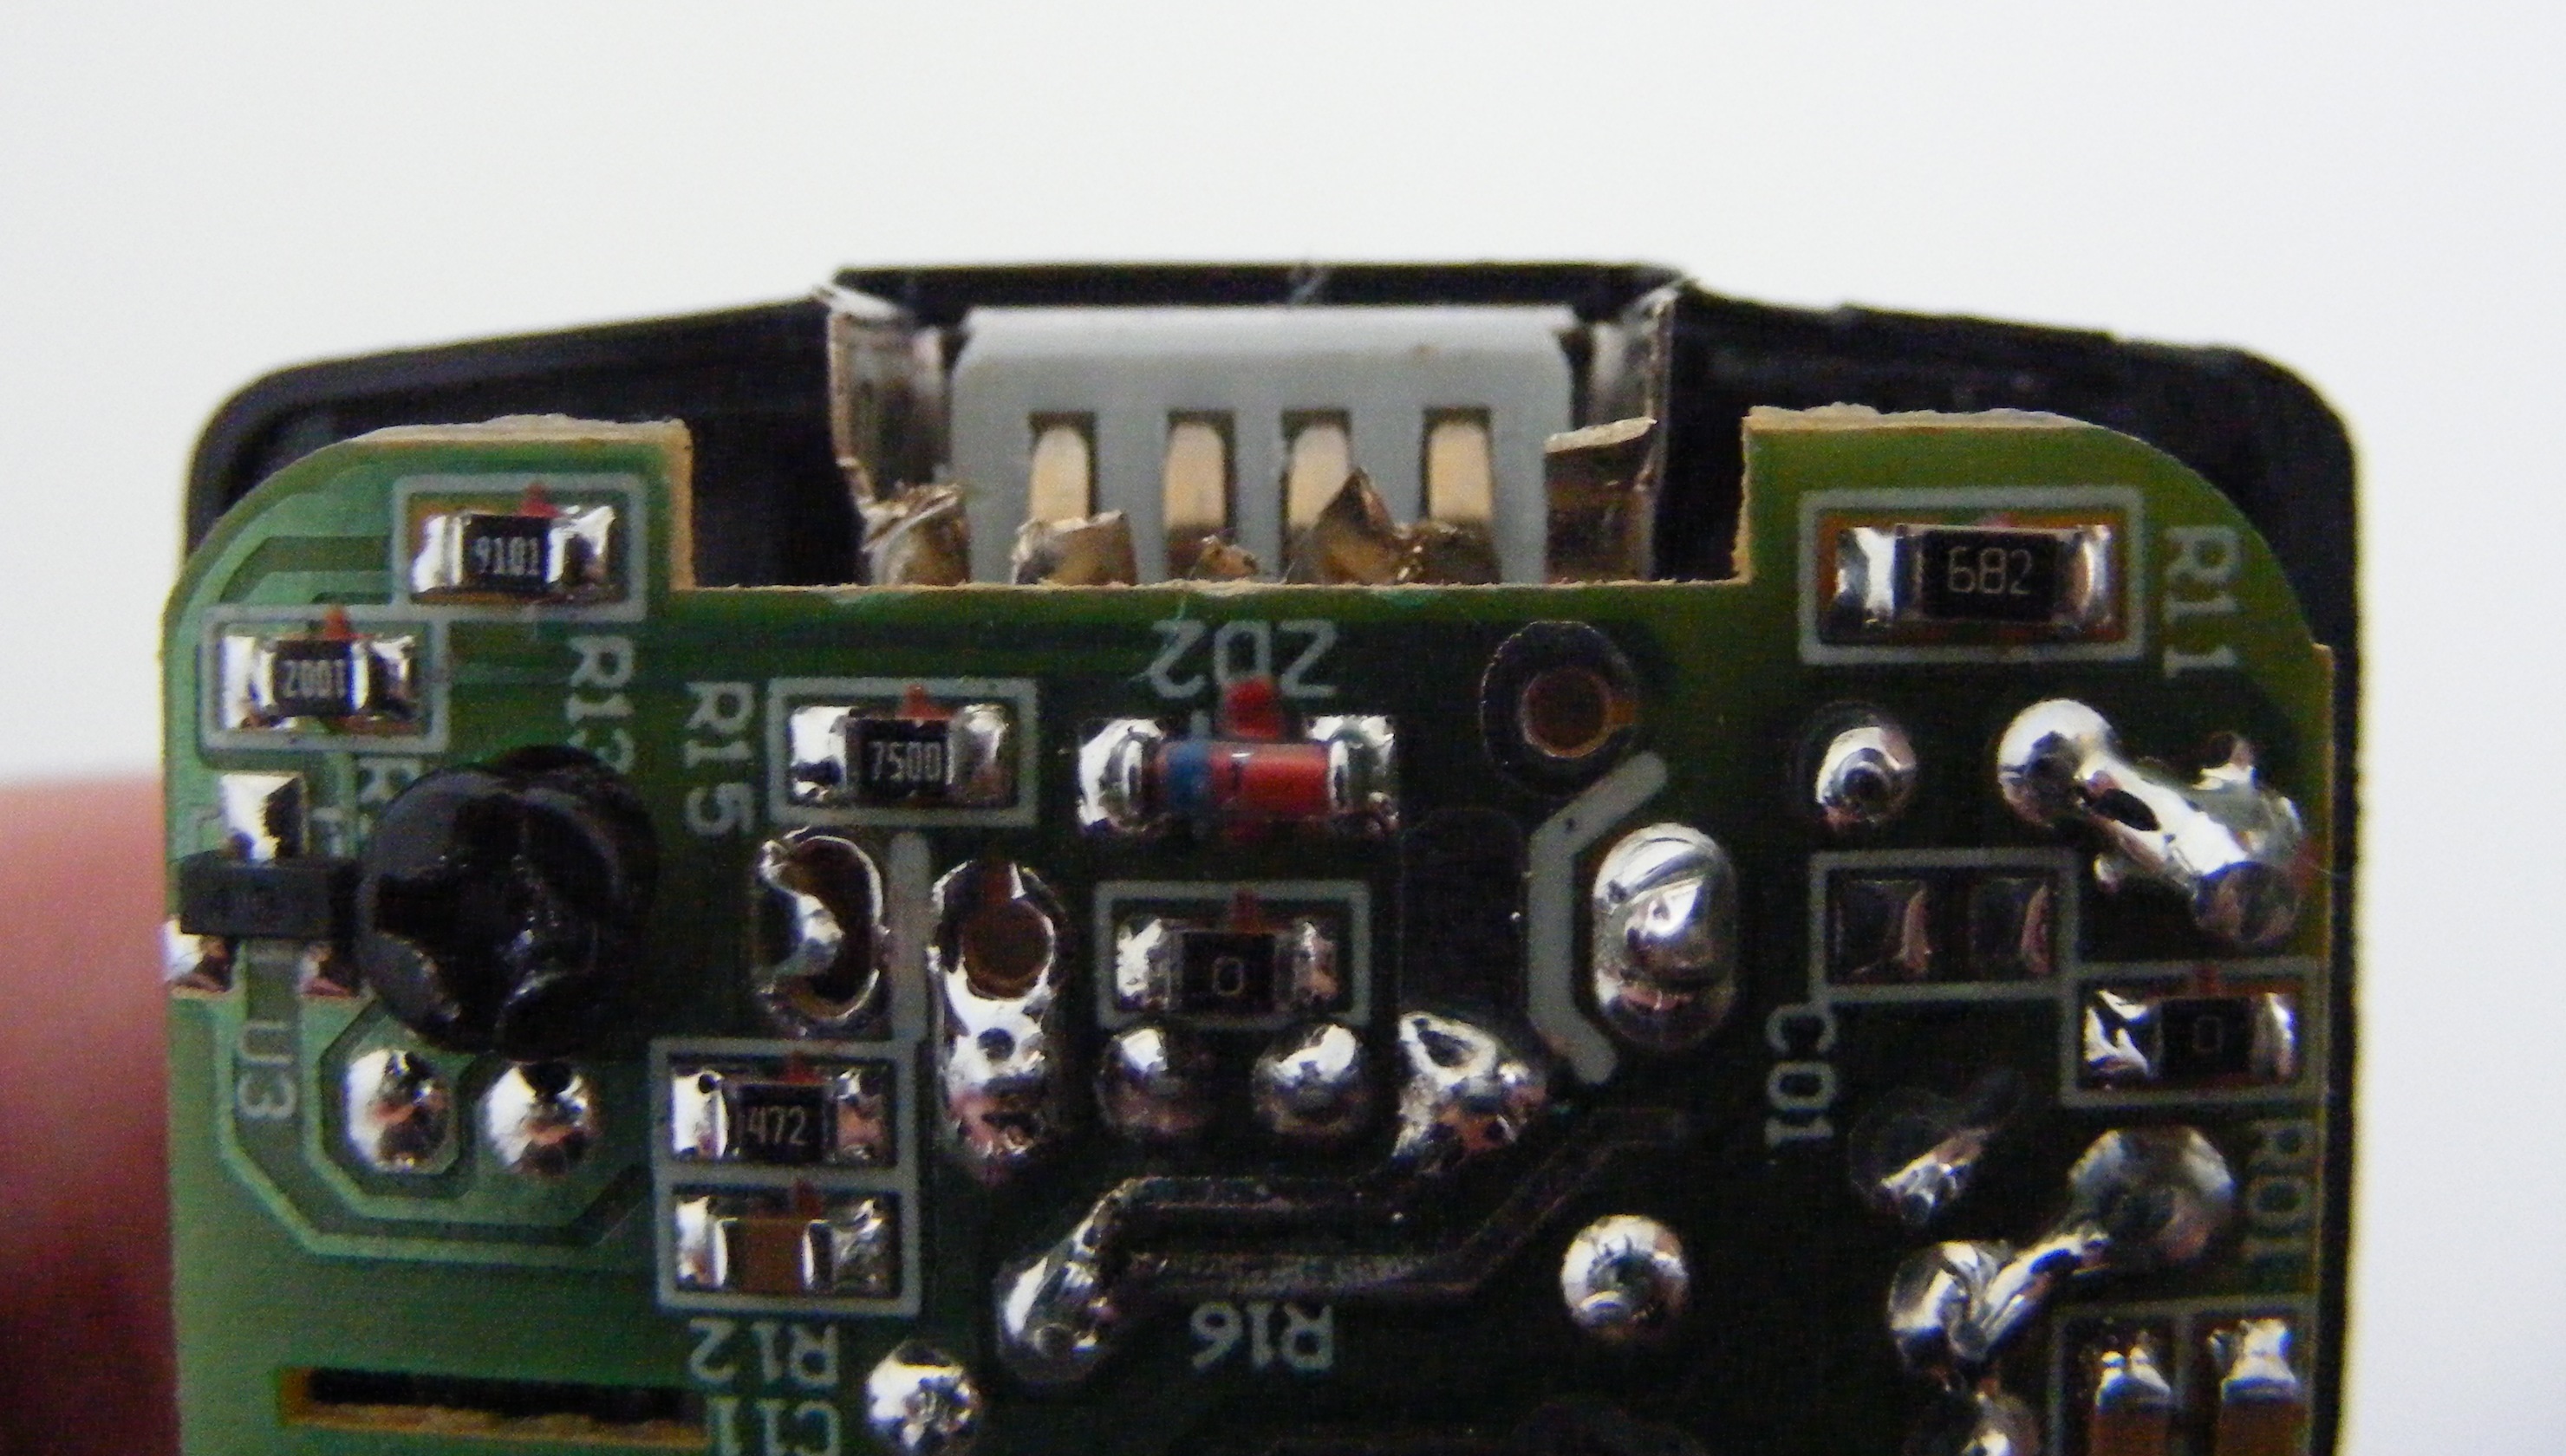
Step 3. Now it’s time to work with wires by cutting, stripping and tinning. After this we need to solder all of them between the board and the WiFi card, as you may see in the picture below. To see if everything works fine, power it up.

Step 4. Now it’s time for binding, using the insulating band, as you may see on the next.
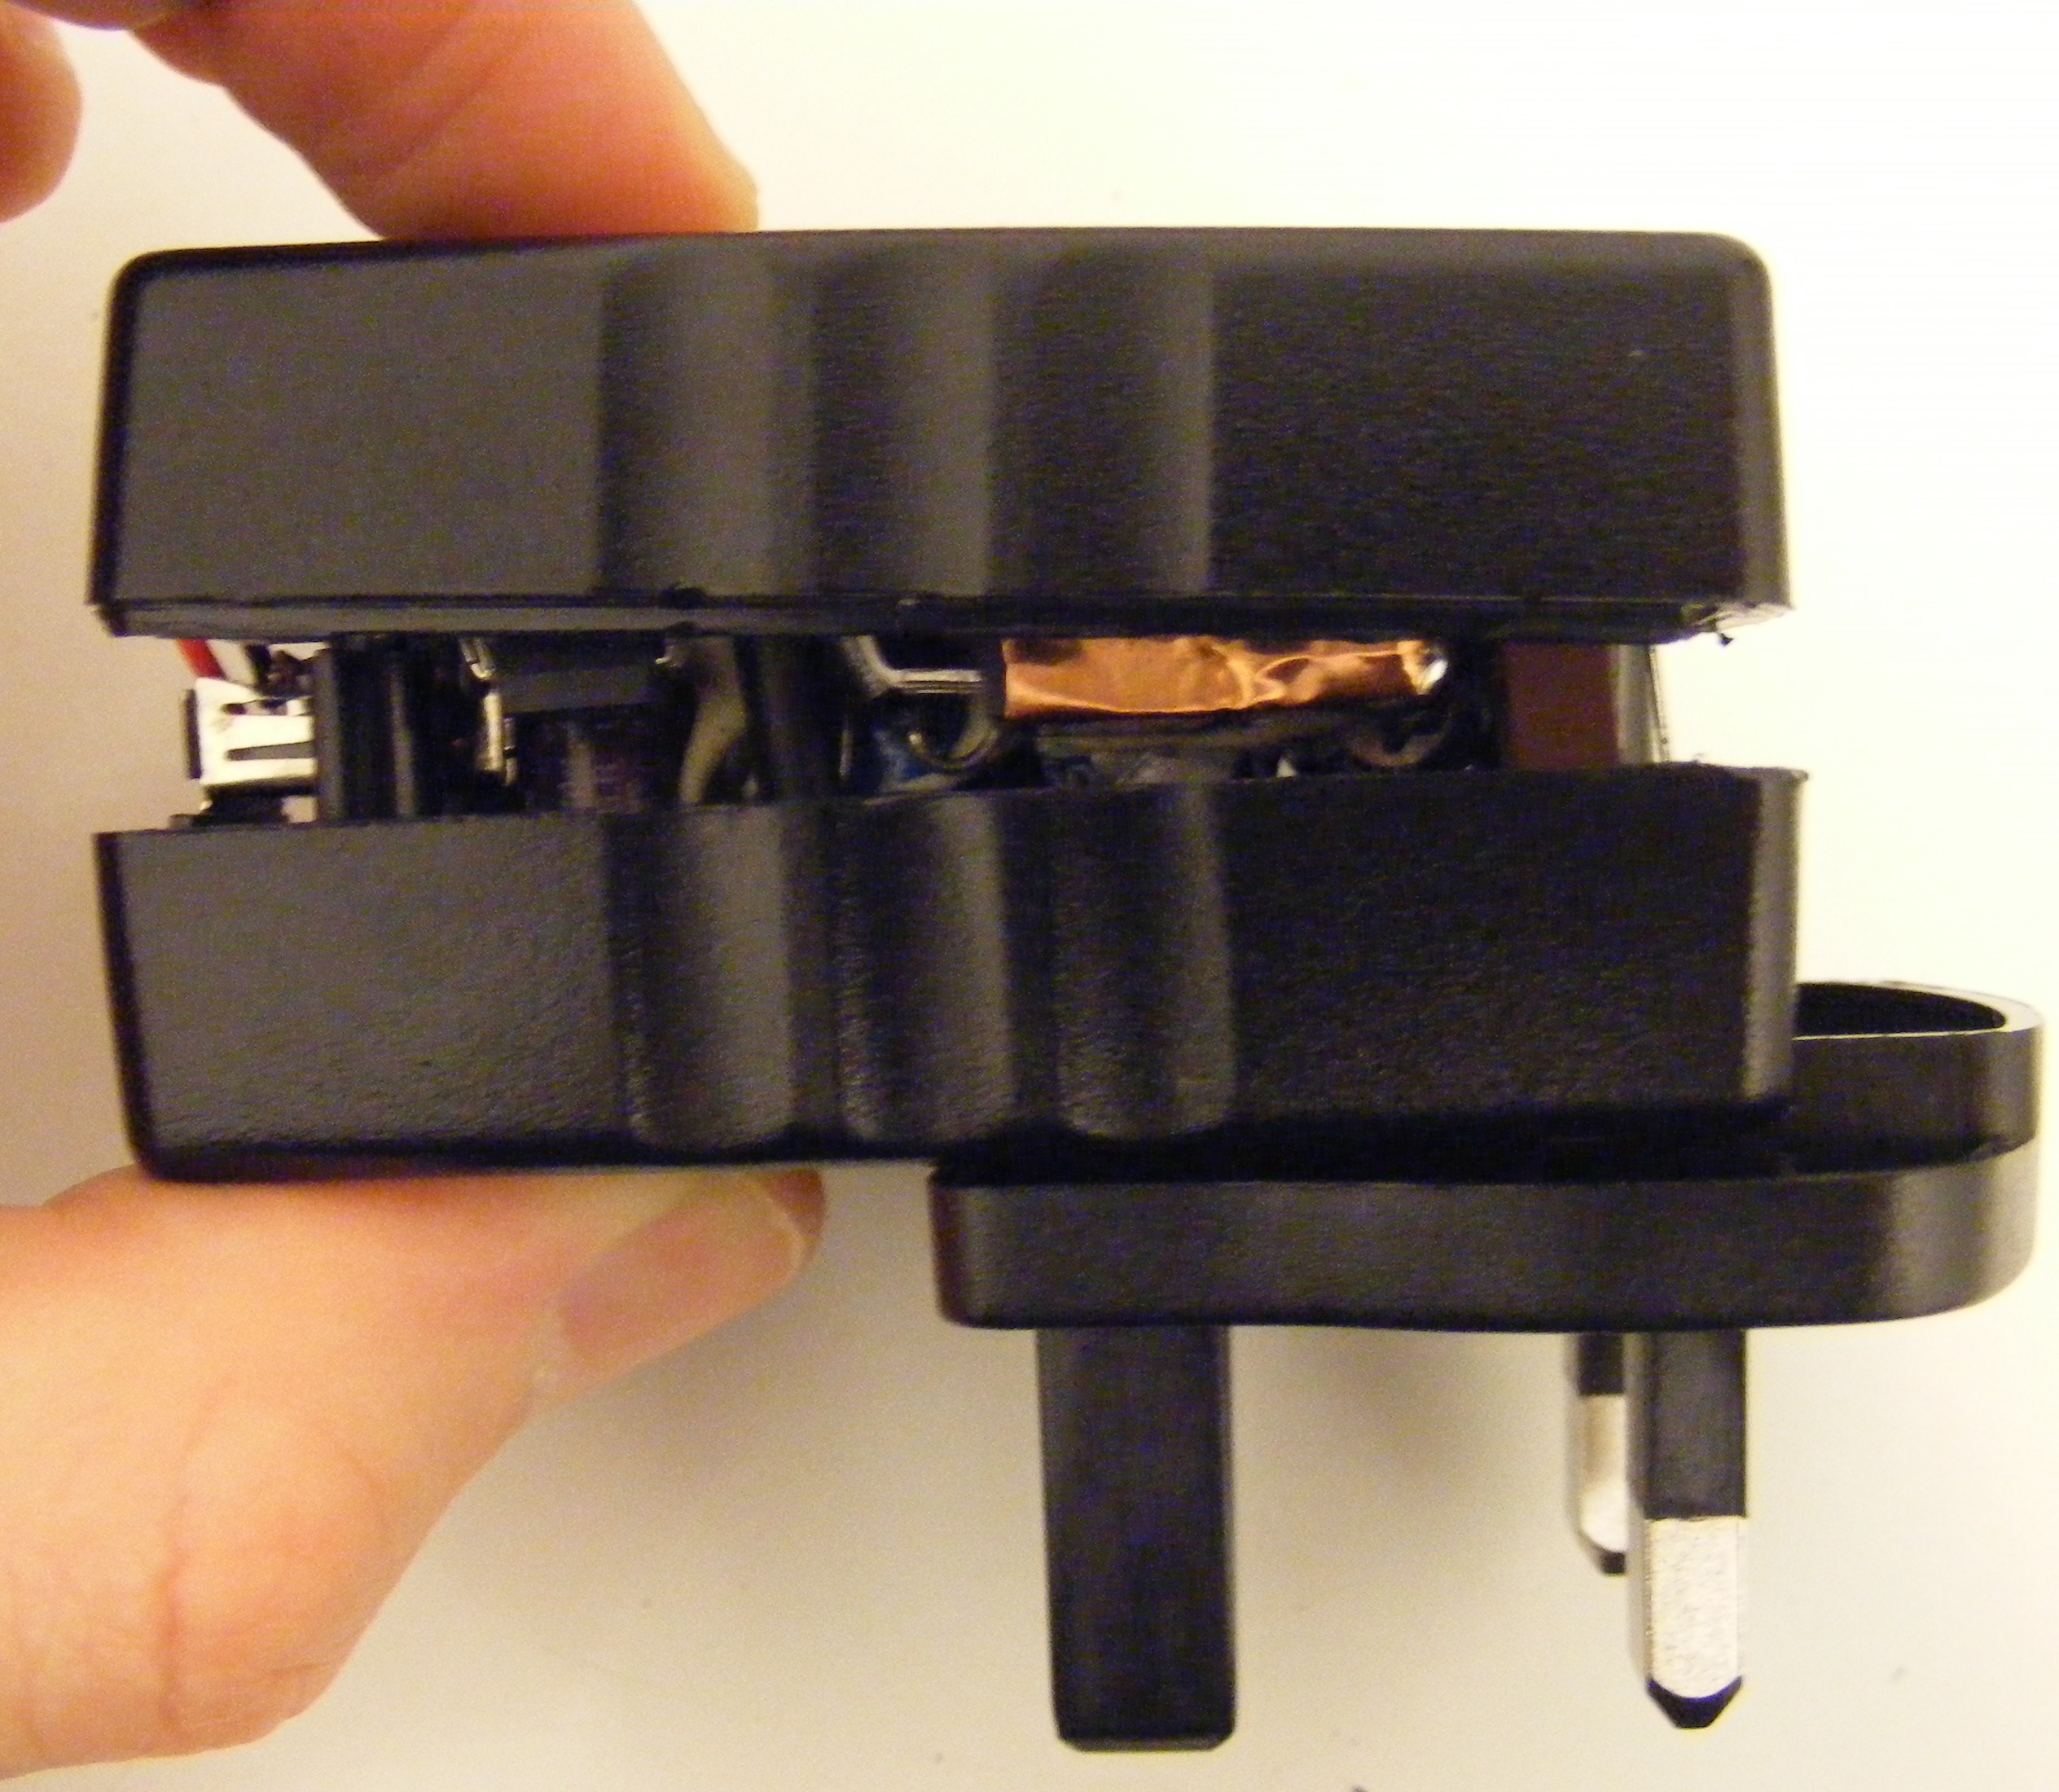
Step 5. Disassemble the charger of the USB. Not it’s time to use the small hacksaw for cutting the edges. After that pry it in half. Be careful now. It’s the most delicate part from this tutorial, so don’t hurry to damage the other components.
Step 6. For a better contacts handling, it will be better for us to cut down the USB front side.
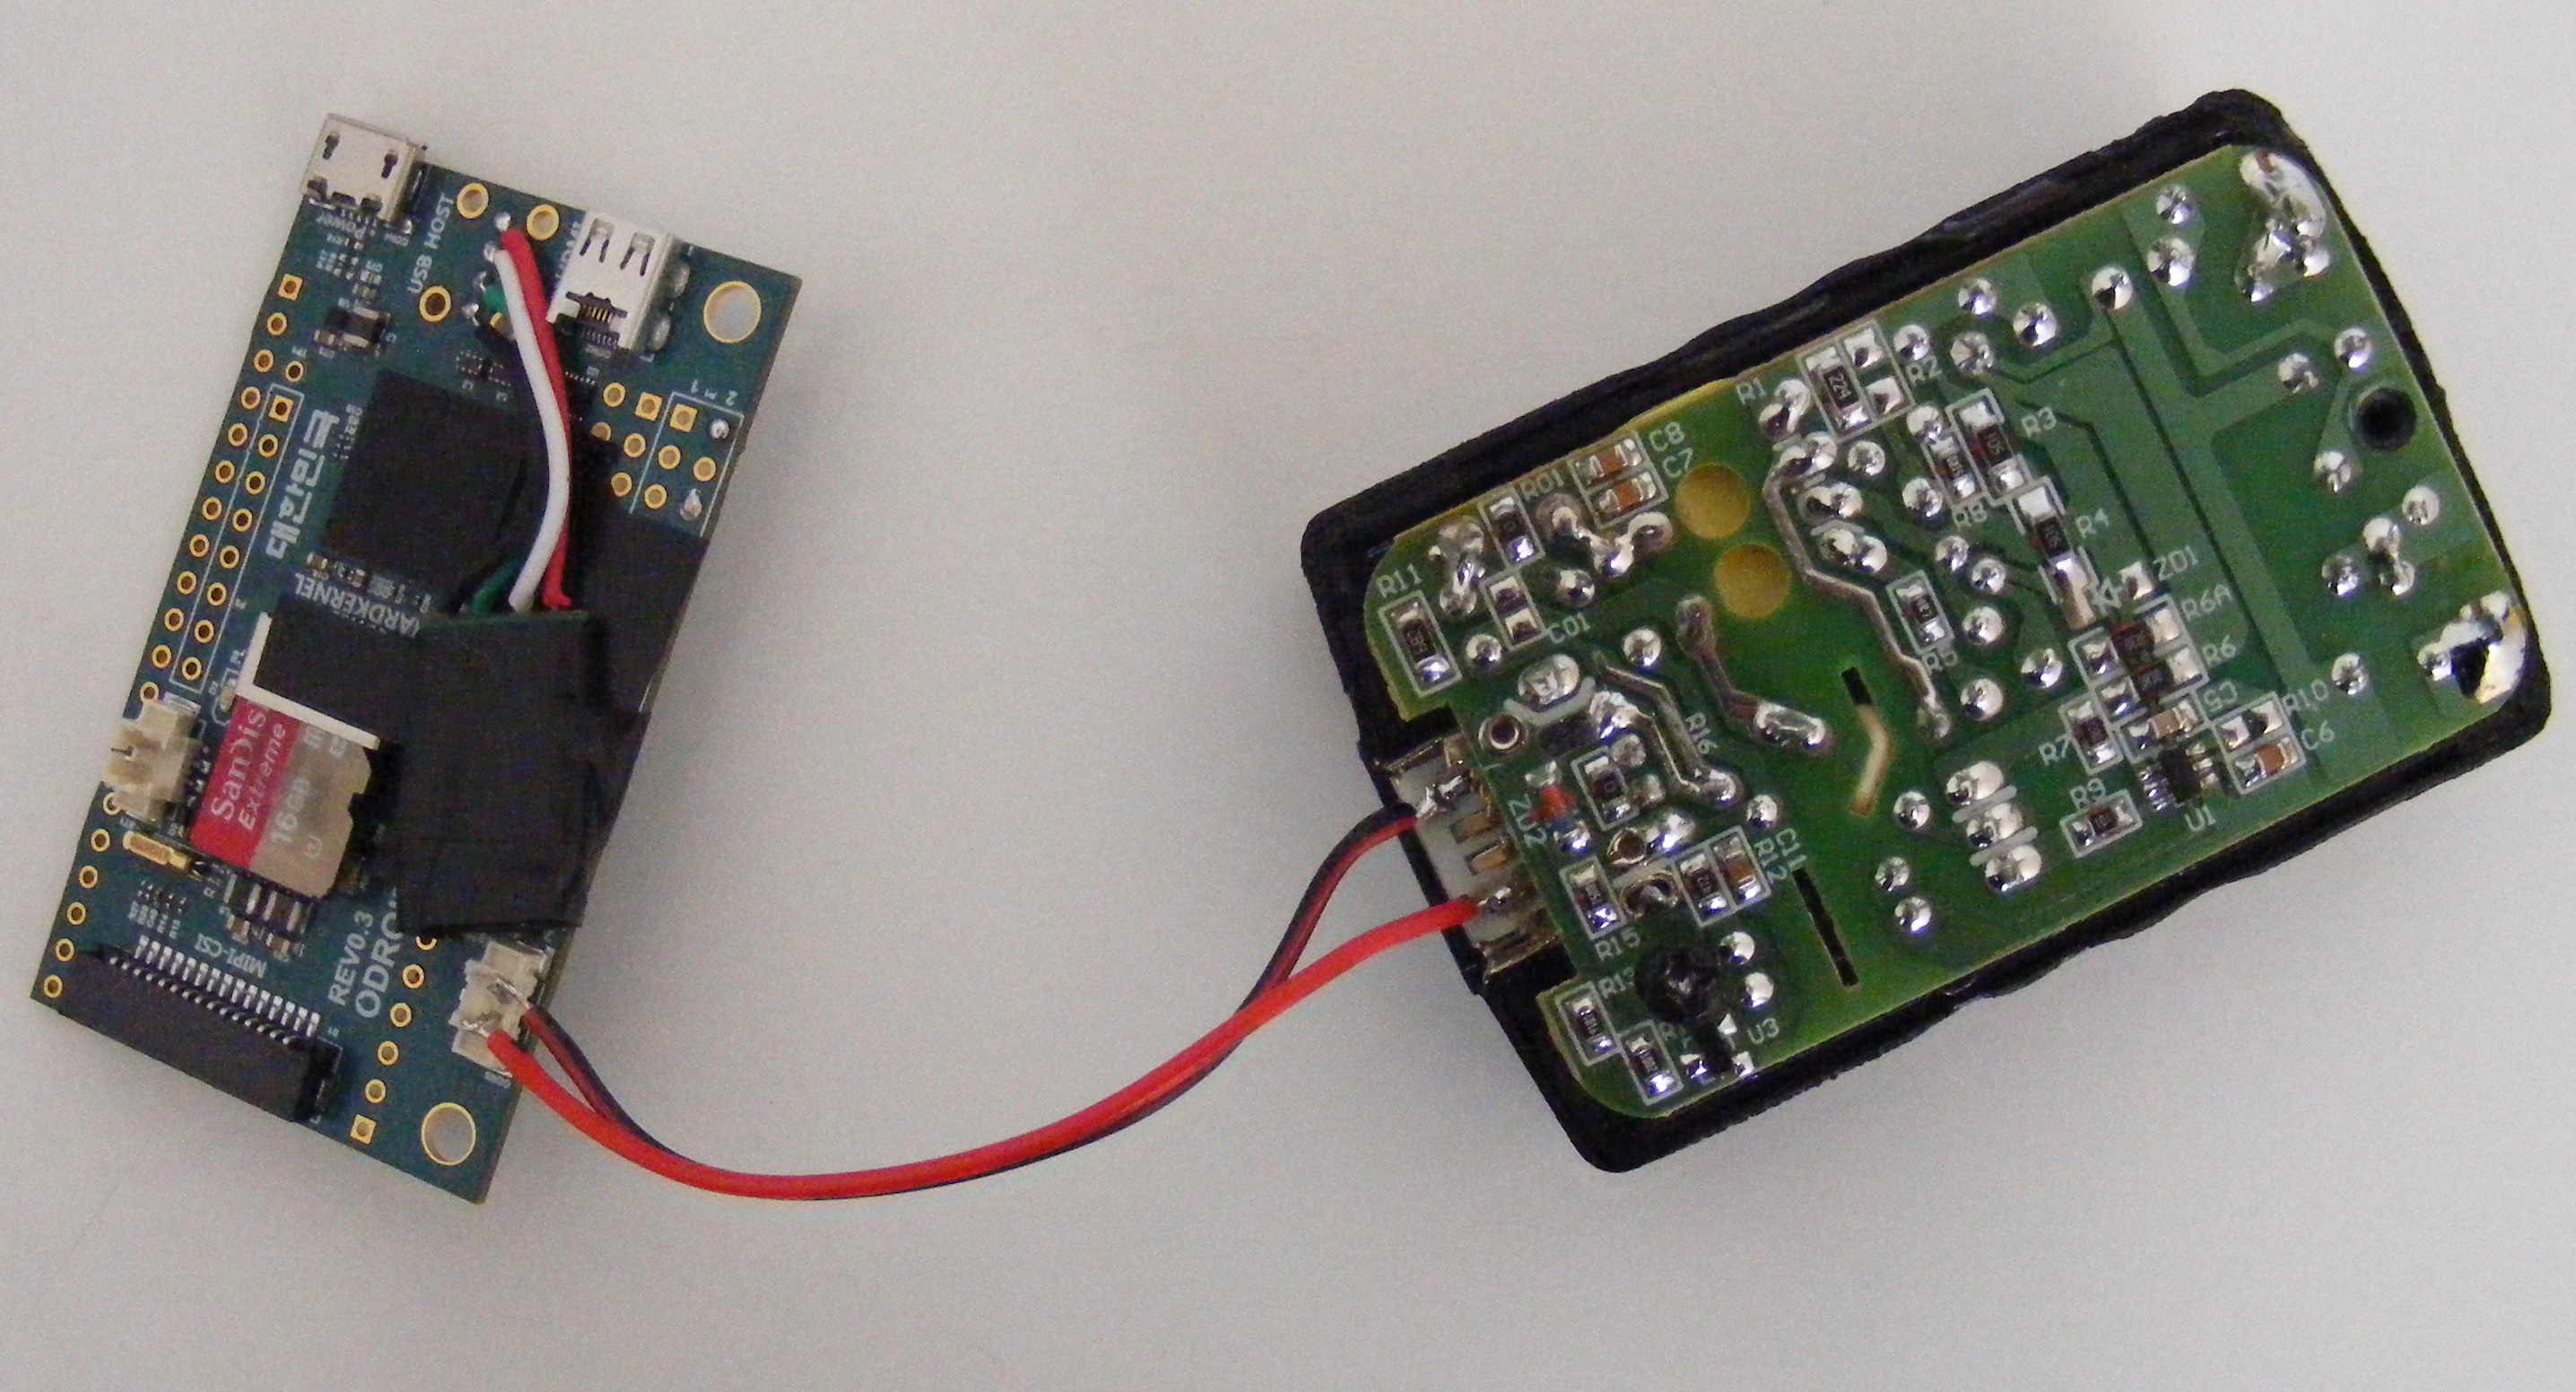
 Step 7. Now it’s time to work with a wire (red and black one) by cutting, stripping and tinning them and solder them to the USB charger. As an advice, the other end of the wire could be soldered on the battery of the ODROIDs connector as you may see in the picture below.
Step 8. Now it’s time to screw, on the USB charger side, a plastic piece for insulating the electricity, as you may see on the next.
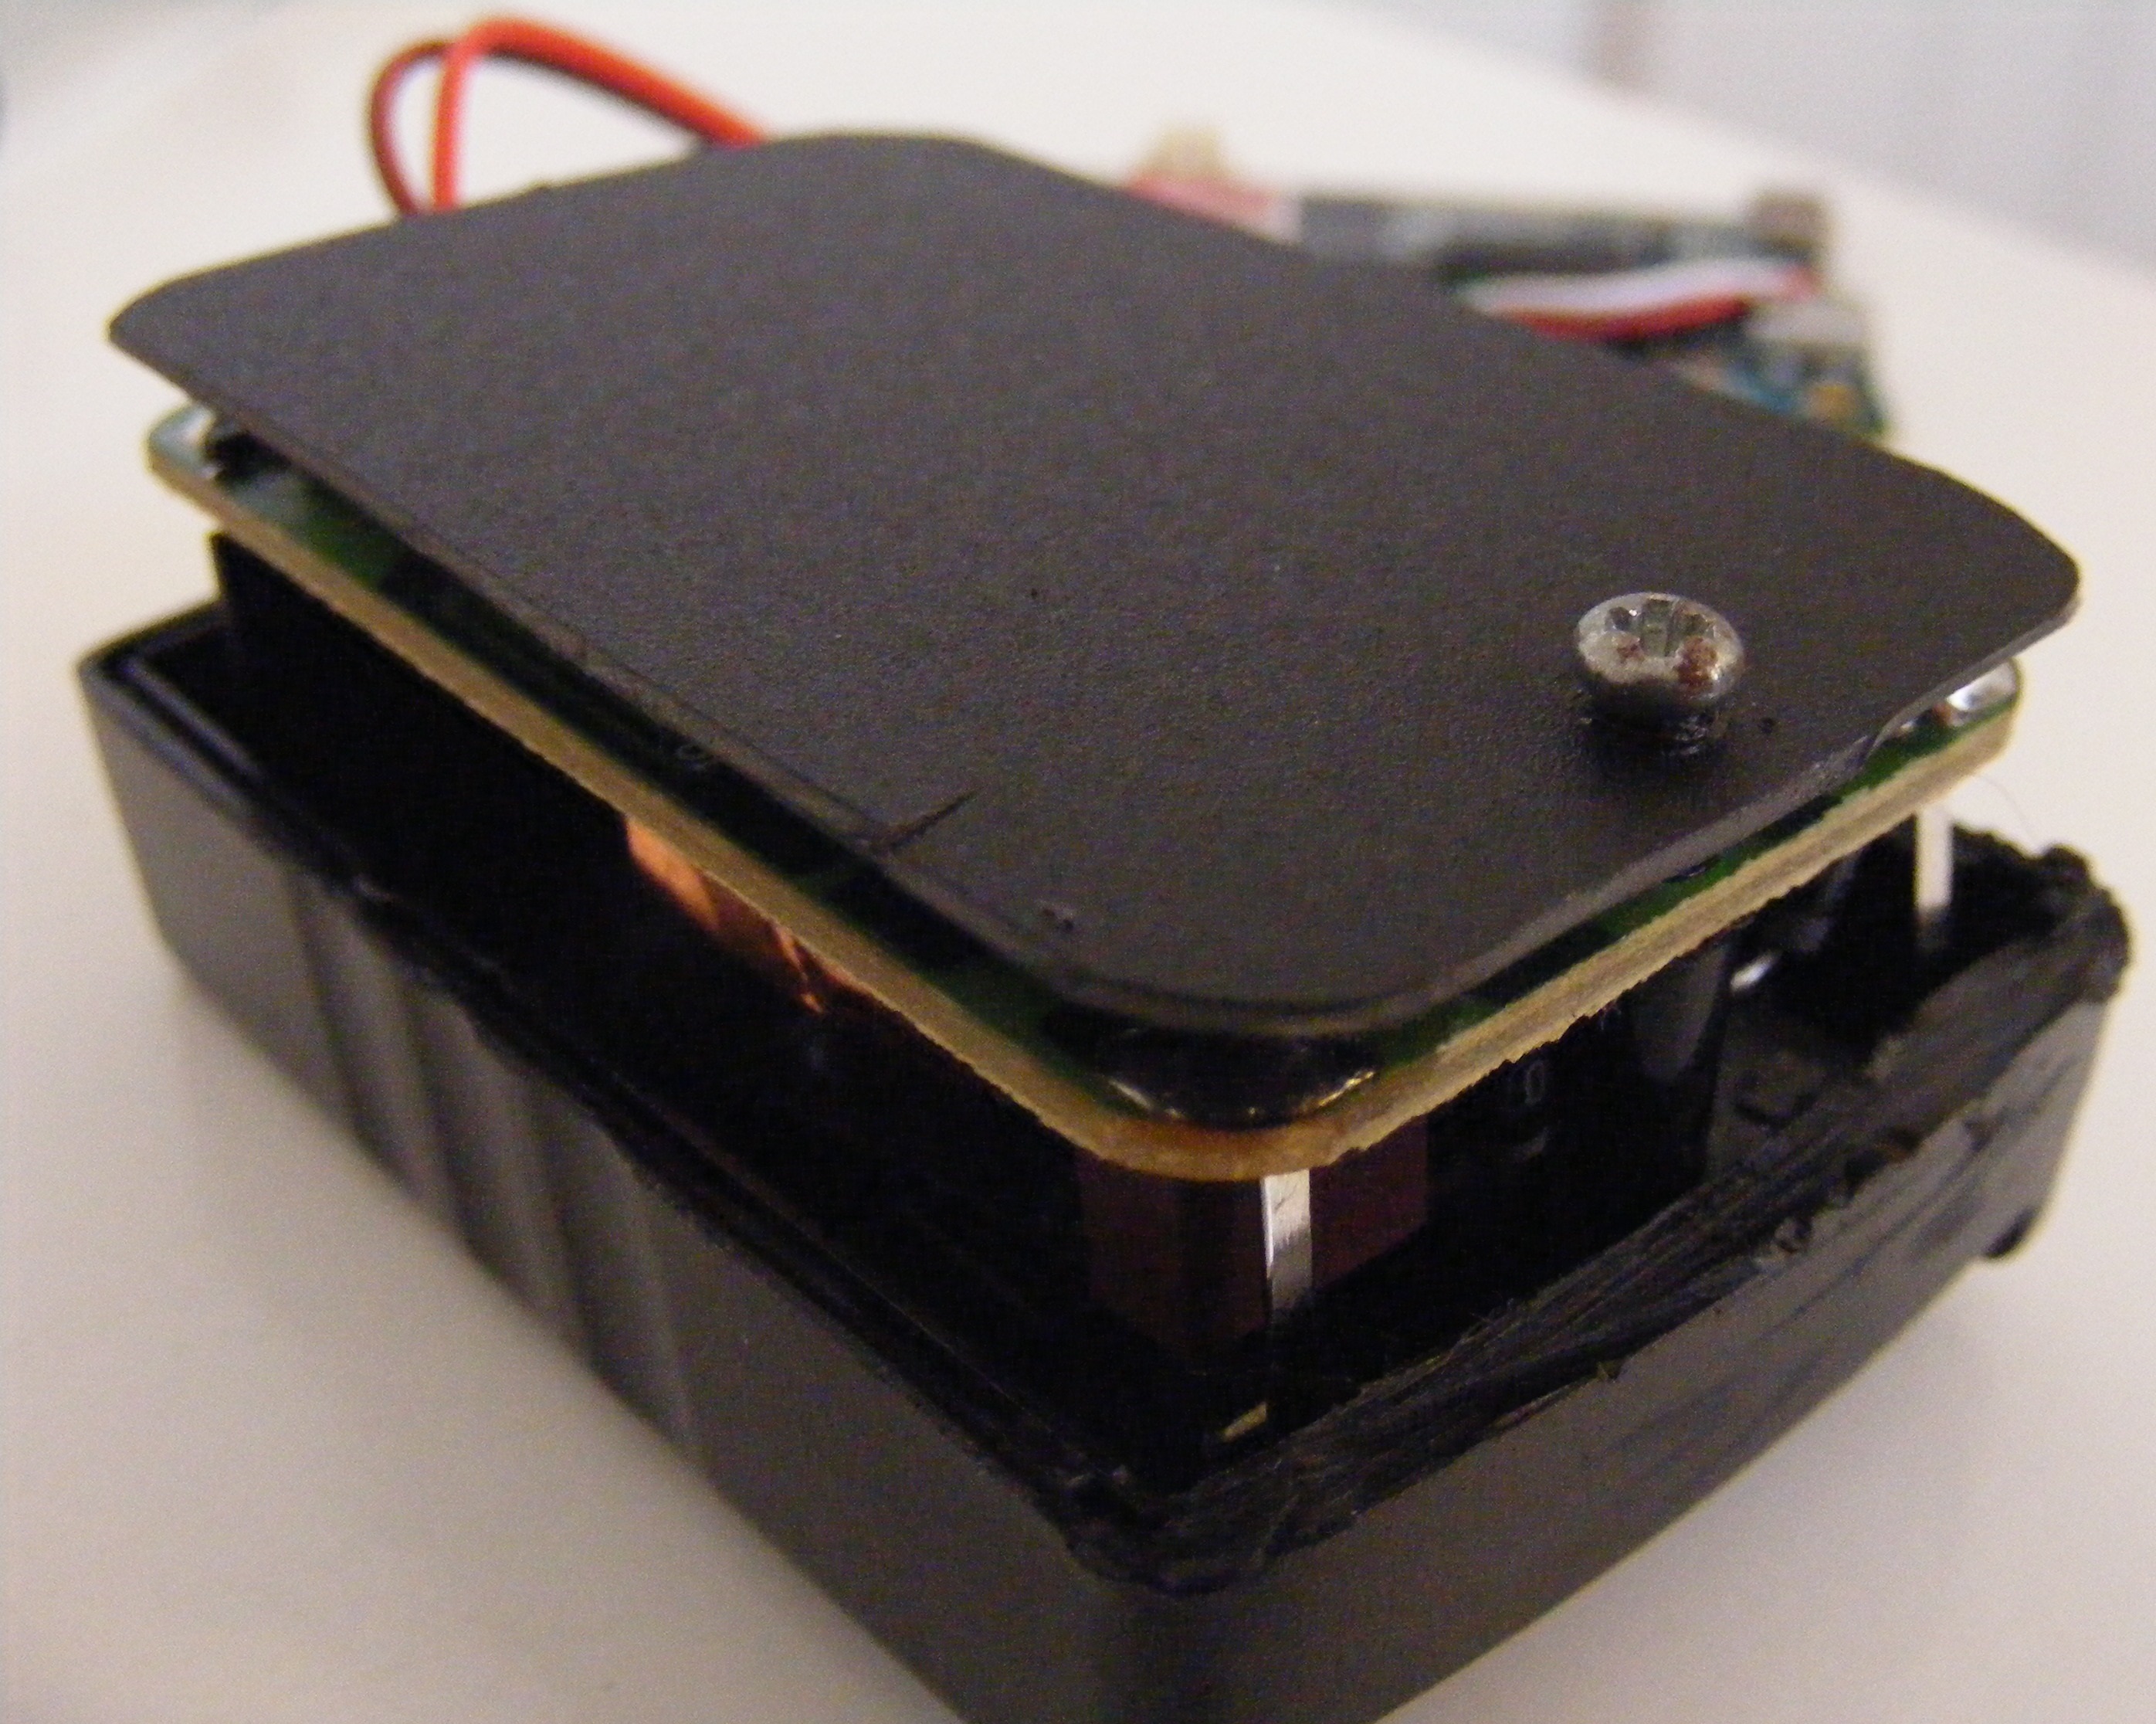
Step 9. Pack all up, as you may see in the picture below. 
Now, as you may see there is a space between the both halves, as you may see on the next. Let’s cover them up.
Step 10. We can use the plastic here too for hiding the space between the two halves. For the first layer we may use thin plastic, and for the second one we may use a stout one, for a better resistance and protection.

Step 11. One the last step we will try to make our product, as much as we can, unobservable by covering it up with vinyl. Enjoy now your new micro Linux computer!
Will really help me to create a Linux computer by using my pendrive thanks for sharing such a great article
Such an wonderful post. very helpful for us. thanks for sharing with us. keep posting such an informative article.
عالی بود