Write protected USB flash drive tutorial
Howdy fellow USB users. Today we are going to create a write protected USB pendrive without any software to do so. We will only be using the registry editor in Windows , which can be used to write protect quite a lot of devices. Write protection comes in handy when trying to avoid data being added to or deleted from a drive you want kept safe.
There are a few easy steps, which I’ll be illustrating with some useful pictures, so let’s go.
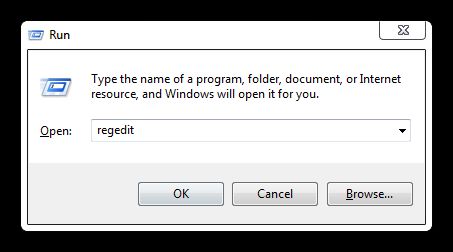
First, you need to insert your pendrive into the computer ( d’oh ). Second, press the windows key + r on your keyboard. For total n00bs, the windows key is the one to the left of your left ALT key. Type in ” regedit “, like so :
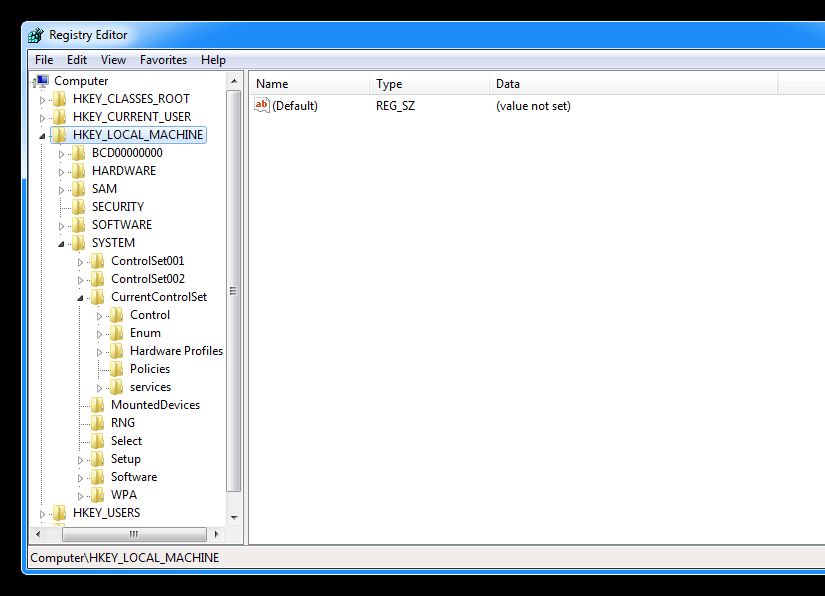
Now expand HKEY_LOCAL_MACHINE ; expand System and expand CurrentControlSet as per the following :
Right click on ” Control “; select Create ; select New and then select the first option, which is ” Key ” :

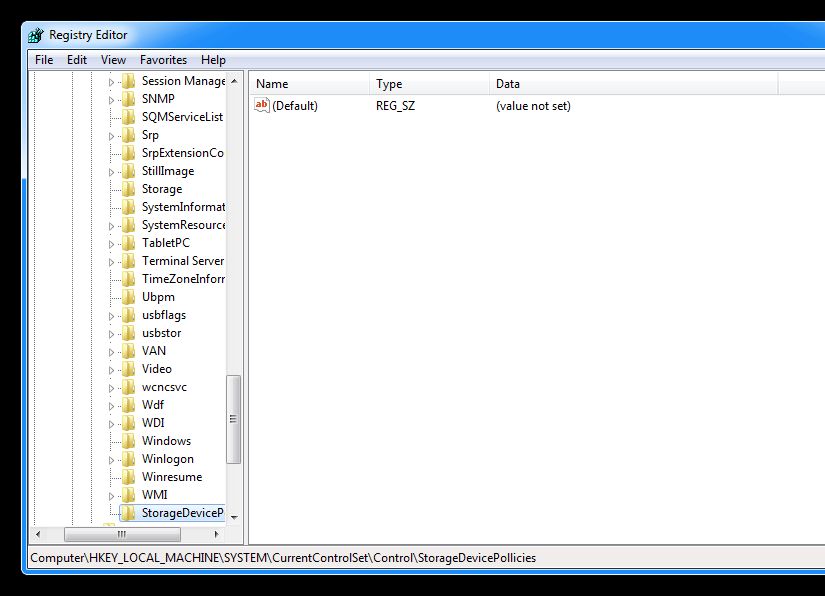
Now name the newly created folder ” StorageDevicePollicies “, your result will be this :
Now simply right click your created directory and do this :
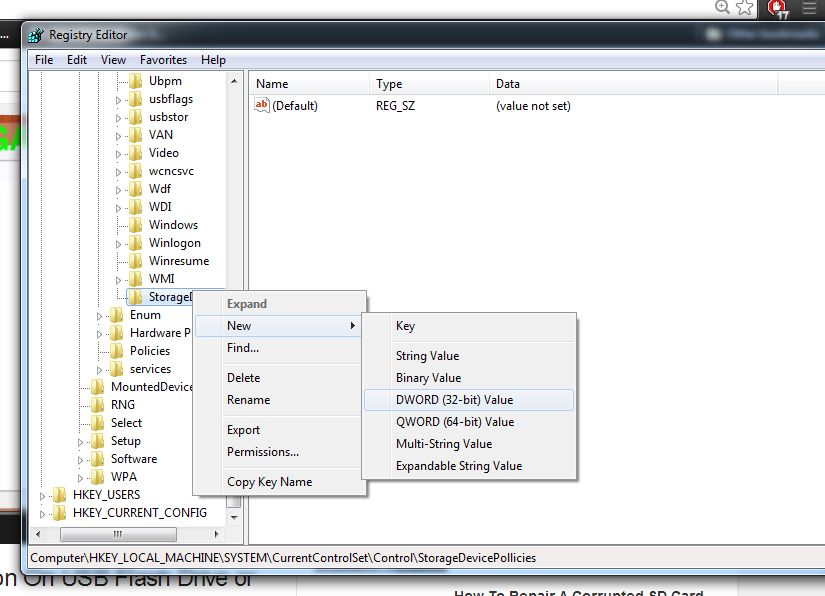
Name the resulting registry ” WriteProtect “, right click it and select ” Modify “. The value of this should be 0 now, you must change it to 1 and press ok. Easy peasy :

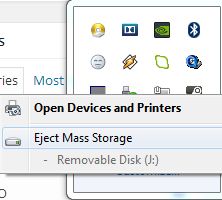
Now right click on your USB device in the try near the clock and eject your device:
Reinsert your pendrive and thank me for this tutorial. To remove the write protection, this value :
must be 0. Au revoir!
This didn’t work..!!!
Still shows write protected