How to make a bootable USB to install OS X 10.7-10.8
I kept on hearing that installing OS X is a very difficult job, especially if you do it on a MacBook Air so i decided to show you how to make a bootable USB install OS X in 10 easy steps.
Before you get started you’ll need a couple of things in order to get the job done:
-An 8GB USB Flash Drive (or a SD Card which will also do the trick)
-Apple computer with Mac App Store (OS X 10.6.8+)
-Install OS X Mountain Lion (10.8).app (download it from Mac App Store)
-User Administrative Account
If you have these four things you can go on with the process.
1. The first step it’s about inserting the USB drive into the device (Mac) and then pressing the Disk Utility button.
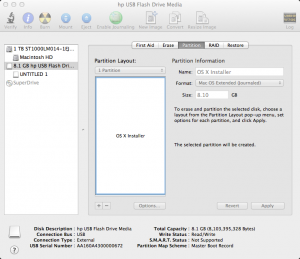
2. The second step refers to clicking on the USB drive and going for the Partition tab.
3. After that select 1 partition from the drop-down menu.
Now the job starts to get harder and some images well make it clearer.
4. In the drop-down menu select the format-type Mac OS Extended (Journaled).
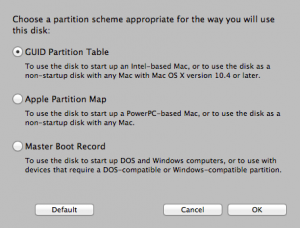
5. Then click GUID Partition Table which is found in the Options menu. After that click OK.
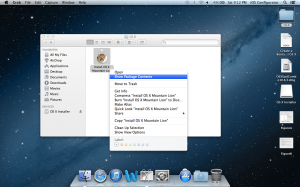
6. This step requires locating the Install Mac OS X Mountain Lion.app and then you have to select Show Package Contents. In order to see this option you have to right-click the file.
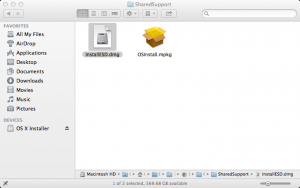
7. Explore Contents | Shared Support and when you find InstallESD.dmg copy or drag it to the desktop.
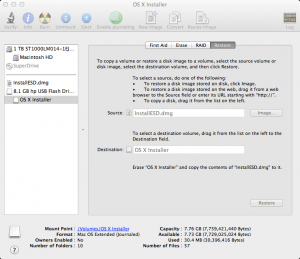
8. Now you have to go back to Disk Utility, find the formatted USB Drive, click it and then click the Restore tab.
9. When you’ve done that, an Image button should be in the Source text-box. Click it and select the InstallESD.dmg from your desktop. Remember you created a partition on the USB drive, well drag it to the text-box for Destination.
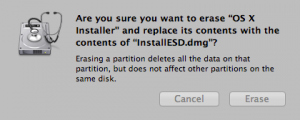
10. Now the easy part. After verifying you did correctly all these steps, look for the Restore button, press it, then press Erase.
There you have it. Feel free to ask me if you encountered any problems.

Recent Comments